
While making some progress on my 30 day countdown in the craft room over the last few days, I found some project ingredients that have been sitting around for a while. Some of them are too big to work on in the next month, like the Mason jar quilt I'll make for Bonnie one day, but I found some small ones I can finish.
What do you think this bed needs?
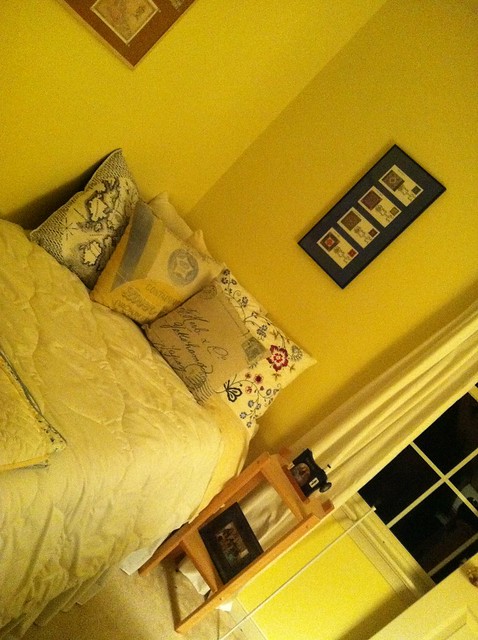
More throw pillows, right? Yep, I thought so too. :) So I made one...and I made another for Bonnie.
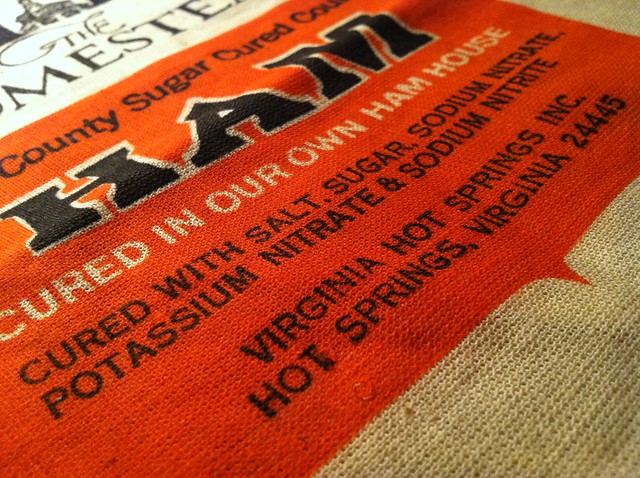
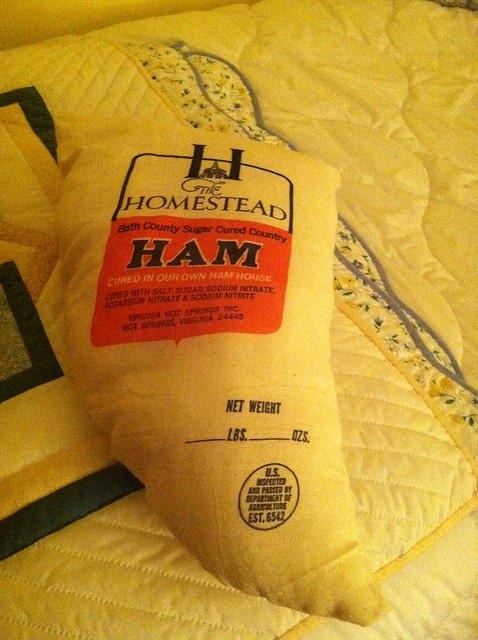
The first DIY throw pillow is made from a butcher sack we picked up in an antique shop in Hot Springs, VA, last summer. We went out there for a long weekend and picked this up as a memento, since all the souvenirs in town resided in the gift shop at the Homestead and were out of our price range. Seriously, that place is expensive. I picked the sack up with the intention of making a pillow out of it - it's unfortunate it's taken me a whole year to tackle it, but we all know me and my mad procrastination skilz. I liked it because of its local ties and thought it would be quirky as a throw pillow!
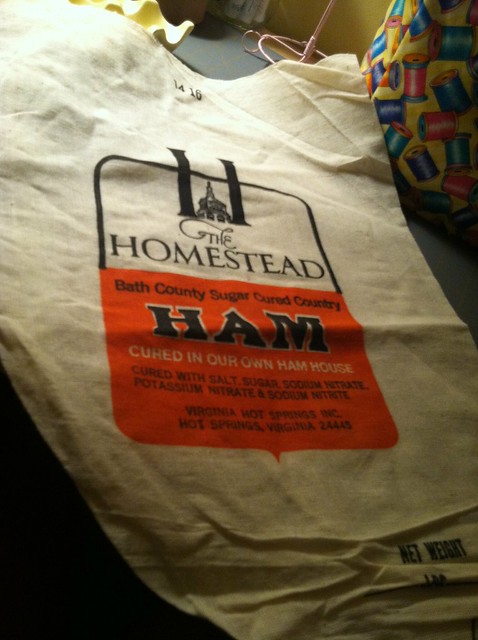
This throw pillow method is pretty quick - fill the butcher sack with polyfil (pillow stuffing) and sew up the opening at the top! It doesn't get much simpler than that, does it?
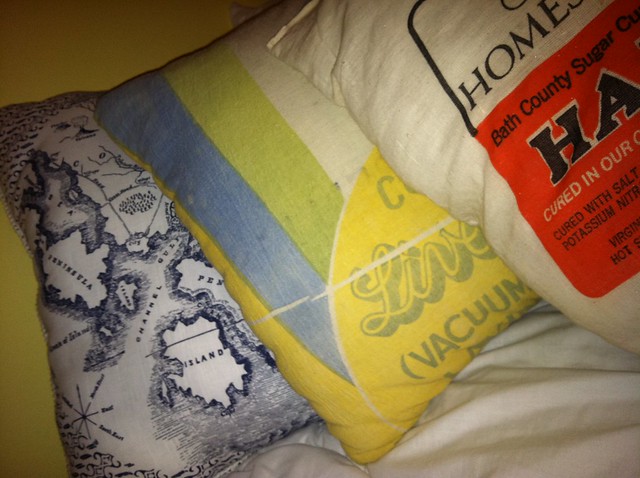
And here it is in its new home, among its new throw pillow brothers and sisters...

...including the map pillow I made from an Anthropoligie dish towel:
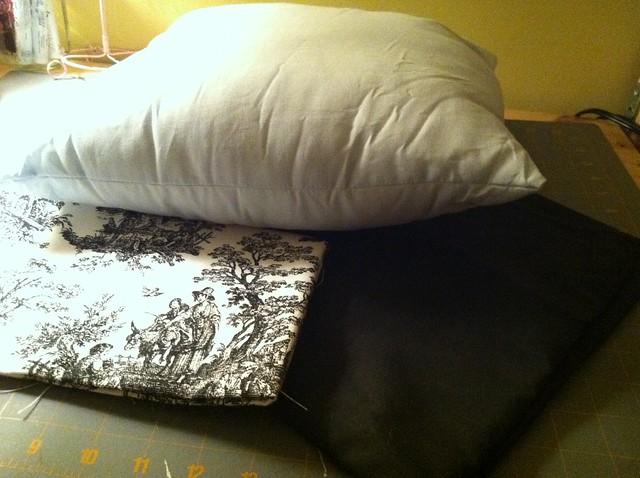
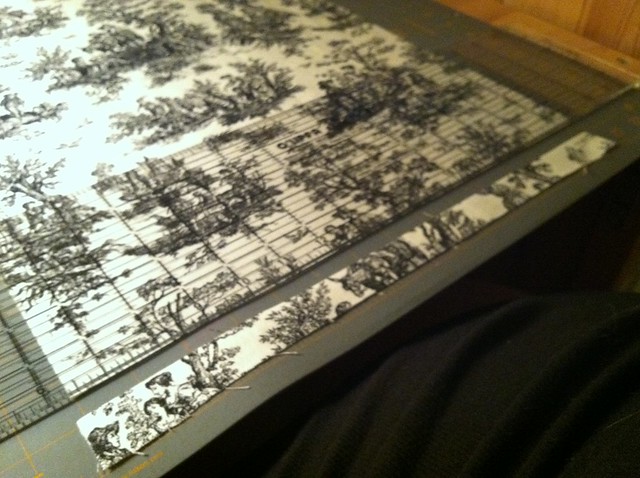
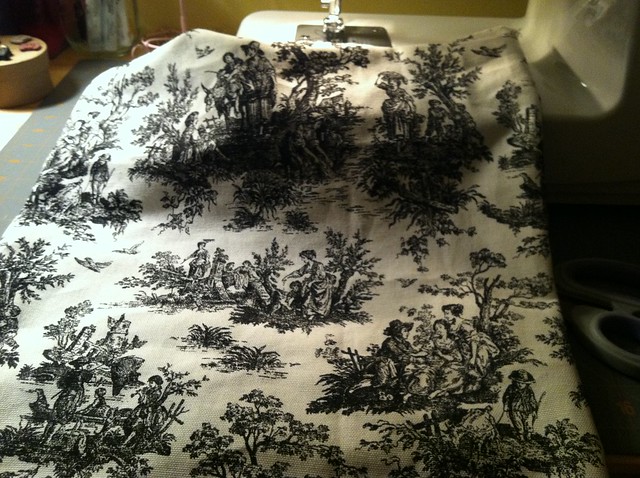
The second pillow was harder and more time-consuming...I used a scrap of black and white toile I used to make Bonnie's craft room curtains, a scrap of black fabric, and a 14x14 Irma pillow form we picked up at Ikea yesterday.
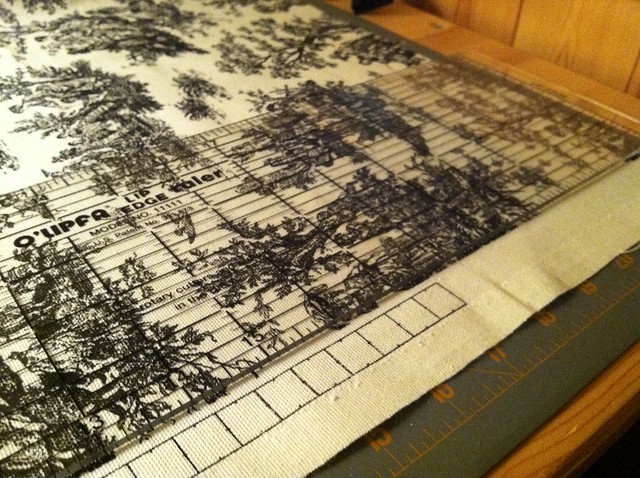
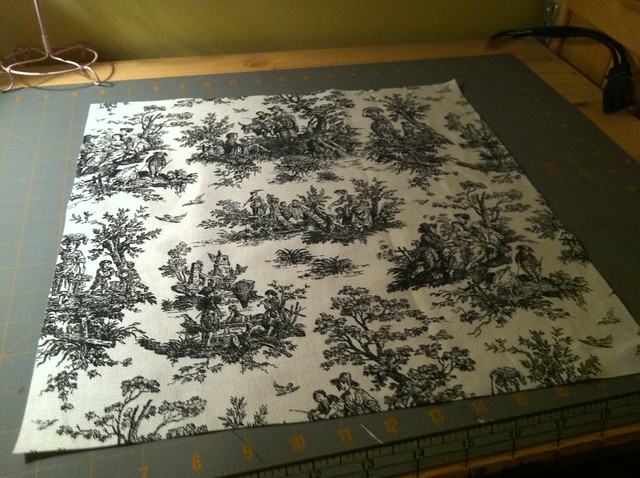
The toile had a side that had never been cut, so I used that to start making my square - the other sides had been cut so I didn't trust that I could make a perfect square starting with any of them. Once I had that straight side, I cut my square - 14 1/2 x 14 1/2 to leave room for seam allowance:
Voila!
Then I used the toile square as a guide to cut the black fabric for the back of the pillow:
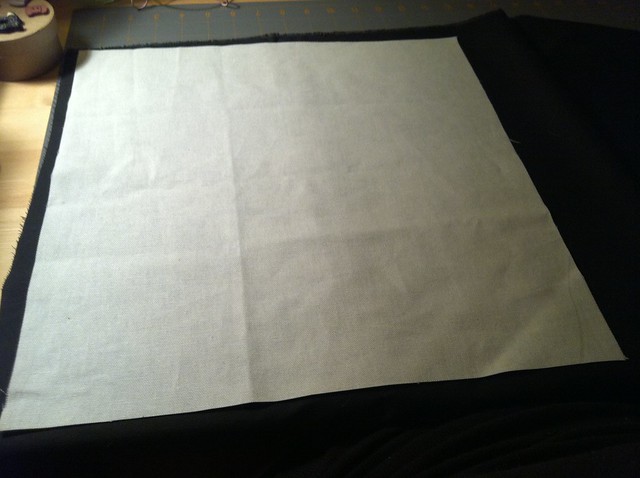
Once you have 2 squares, sew the pretty sides together, leaving a few inches open in a corner so you can insert the pillow form into the cover you've just made.
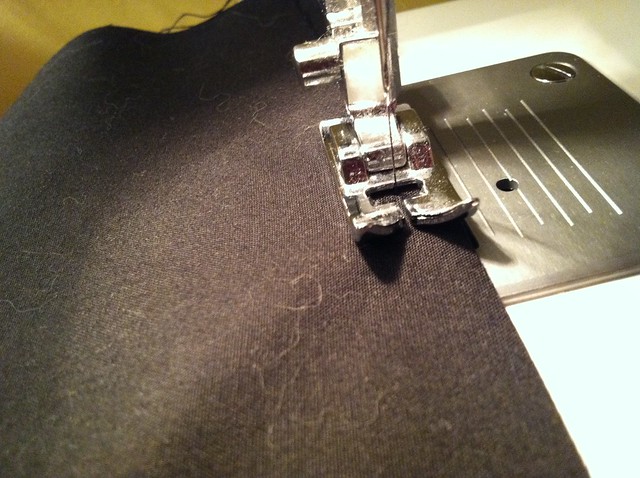
At some point during this step, the needle on my sewing machine cracked in half, so I had to perform a needle replacement surgery. Always keep that little baggy that comes with the machine! Took me a minute to find it, but there were like 6 extra needles in there! :)
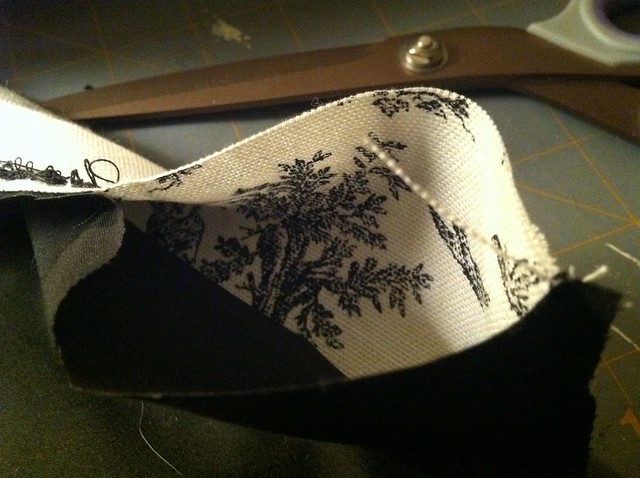
Almost done - turn the pillow inside out to expose the pretty sides!
Make sure to leave enough room to get that pillow through the open inches or you'll end up with this...

...which reminded me of Clairee saying it looked like 2 pigs were fighting underneath a woman's dress at Shelby's wedding reception! Haha
Once you shove/force the pillow form fully into the cover and make sure all the corners are aligned, you're ready to sew up the opening! All done!

Thanks for making me a pillow! :)
ReplyDeleteThat ham pillow makes me laugh. Such a fun idea.