Wednesday, July 27, 2011

30 Day Countdown

Fall semester starts 30 days from today.  I can't believe the 8 month break from school has flown by so fast!  I had all these big plans of finishing every single project, redo a few rooms and clean every inch of the house, and taking road trips and hanging out with friends more than normal to take advantage of all the free time before I'm consumed with papers and homework and group projects.

I did some of that - mostly the road trips and hanging out with friends, which is the most important one - but I still feel like I should have accomplished more at home.  I made a lot of progress, but for every little change I made, 5 more popped into my head.  The house will never be done enough or clean enough, so I should just be happy at the things I accomplished.

So in the next 30 days, I hope to take care of some little things that bug me.  Here's a list, room by room, of what I hope to accomplish before Friday, August 26:
  • Perpetually dirty master bathroom:
    • Simplify the workflow (how's that for nerding out?) to make it easier to keep clean
      • clean out perfumes/medicines and move all day to day toiletries into top 2 drawers - one for me, one for Dave - to control counter clutter
      • purge spa stuff and use closet bin for medicines
      • bigger, lidded trash can; move beside sink since that's where all the trash is created
    • long-term:  I've given up on the 'beach house chic' makeover for now.  That can wait for Christmas break or 2013. :)
  • Master bedroom:
    • purge tchotchkes from Expedit and move picture frames into cubbies
    • purge extra make up and Craigslist MK travel bag
    • purge scarves/belts and use 4th drawer in jewelry case for every day make-up bag
    • long-term:  buy king bed; new bedding and curtains already purchased
  • Craft room:  
    • purge fabric and organize all current projects in 1 place for easy access
    • move empty fabric bins to garage
  • Hall bath: 
    • switch shower curtain (already purchased) and Craigslist/store existing one
    • replace light switch plate
  • Office:
    • sew and hang curtains (most awesome fabric ever)
    • new floor lamp with bonus task lighting
    • go through PC games, CD's, and manuals; hopefully purge enough to get rid of CD shelf by window
    • replace light switch plate
  • Walk-in attic:
    • get rid of large baskets; consolidate keepers into 1 large bin and use other for Dave's childhood box
    • put all the randoms that have crept into the middle of the room into their places :)
  • Living room:
    • new end tables?
Once this stuff is done I hope I'll be able to focus on my studies instead of organizing things.  I can't promise I won't sneak in little projects, like the Mr., Mrs. and & pillows I have planned for the master bedroom when the bed is purchased and bedding replaced, but those aren't a time suck like this stuff.

The downstairs just needs a good cleaning and it's good :)  We did a pretty substantial purge and organization in the kitchen in the spring, so that's running pretty smoothly...except the dirty dishes that keep popping up! ;)

This list might be a tad unrealistic for 30 days, since we'll be out of town for 10 of them, but I like to dream big...plus some of them might only take 10 minutes.

Sunday, July 24, 2011

Perfect pie crust

In all my days baking I haven't made many pies...I've made a few apple pies, a frozen cool whip pie, zucchini pie, and this peach one with fresh peaches from Carter Mountain: 
Still bubbly hot from the oven!

All of the pies were made with Pillsbury's refrigerated pie crusts.  So convenient!  But not necessarily something you can write down in your recipe book and pass down, right?

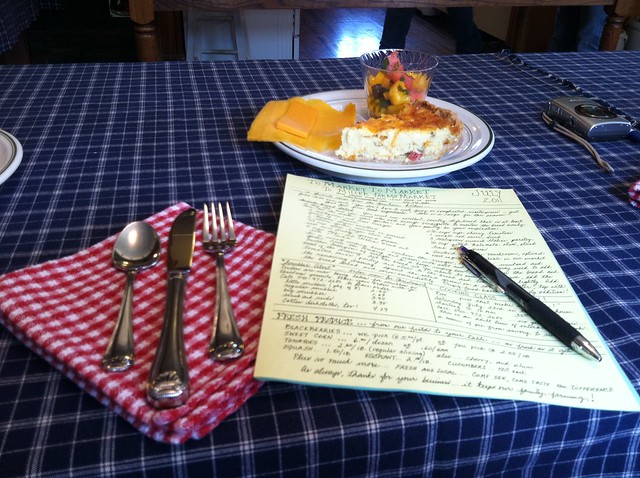
So I was definitely excited to take another class with Jo at Miller Farms - "Pies...pies that make me smile!"  Jo had breakfast ready for us when we got there:  Mexican quiche, cheese, and some fruit...hit the spot!

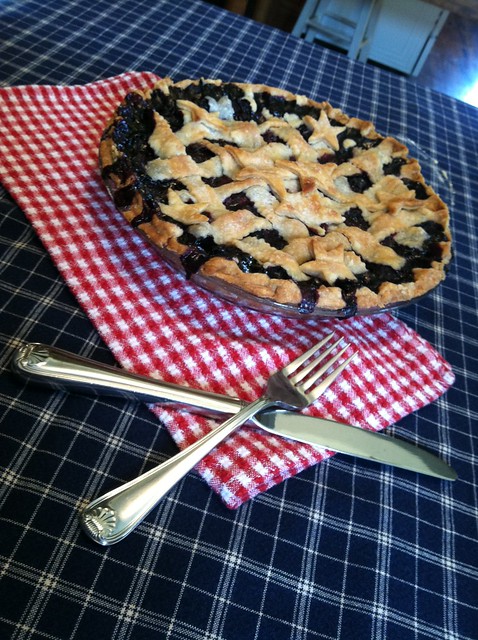
During the class, she showed us how to make the Mexican quiche, a lemon ice box pie, and blueberry pie using crusts she had already prepared, and then showed us how to make the crusts from scratch.

I didn't feel much like making a pie today using one of the recipes we brought home, but I did make a batch of pie crusts (recipe makes 5) to freeze so I'm prepared when I am in the pie-baking mood. :)

Here's Jo's "Perfect Pie Crust" recipe:
  • Ingredients:
    • 1 tbsp. sugar
    • 2 tsp. salt
    • 3 cups unsifted all purpose flour
    • 1 3/4 cups Crisco - she recommends not using oil, lard, margarine, or Crisco w/butter)
    • 1/2 cup very cold water
    • 1 tbsp. white or cider vinegar
    • 1 large egg
  • Procedure:
    • Combine sugar, salt, and flour thoroughly with a whisk or pastry blender:     
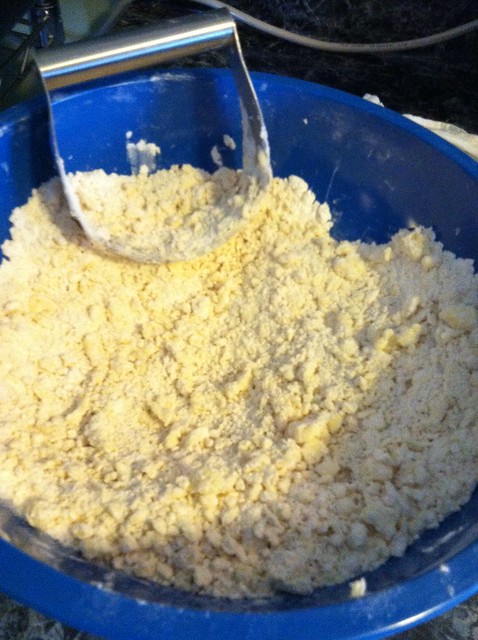
    • Add Crisco and cut into the dry ingredients (with pastry blender) until clumps are the size of peas:

    • In a separate bowl, combine the water, vinegar and egg
    • Combine dry and wet ingredients until moistened:
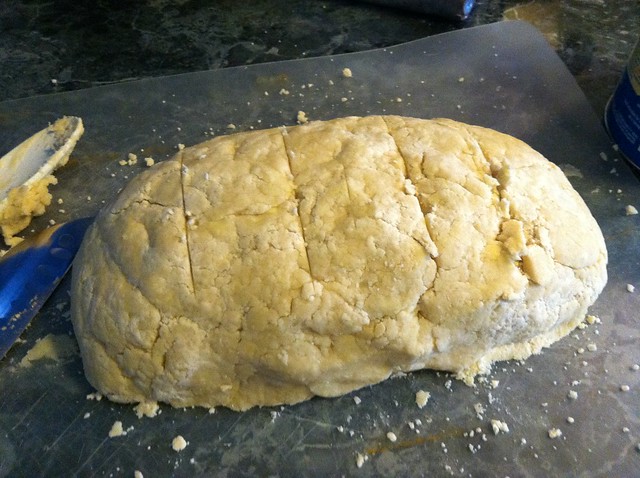
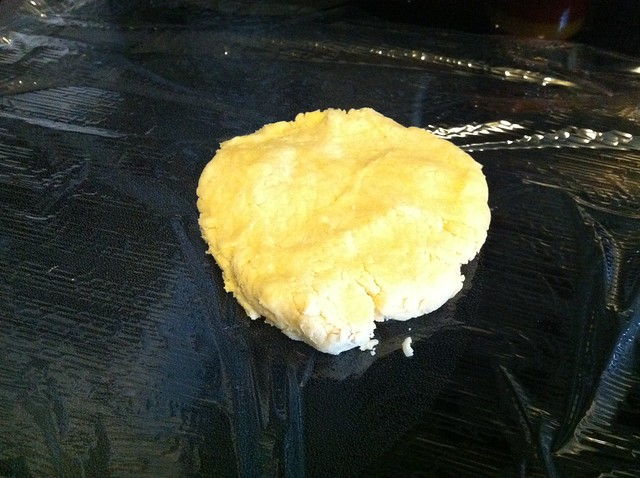
    • Divide dough into 5 portions and with hands, shape each portion into a flat round disk ready for rolling:


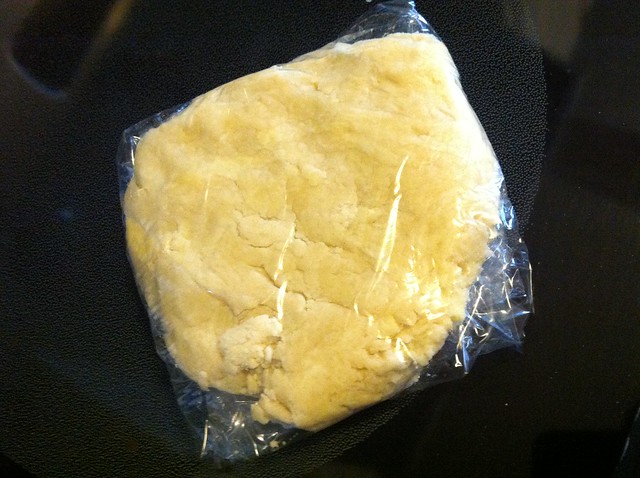
    • Wrap each in  plastic wrap:


    • Chill for at least 1/2 hour before rolling.  When ready to roll, lightly flour both sides of disk and roll from center to 1/8 inch thick
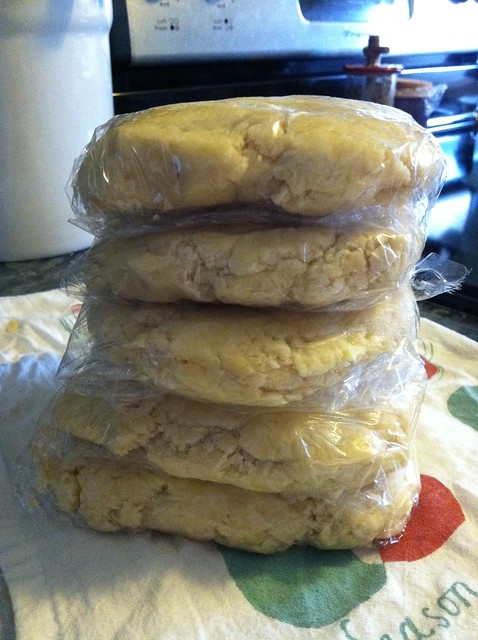
Since I'm not making any pies today, I stacked my 5 crusts and put them in the fridge to chill them.  Once they're cool I'll wrap each one again and then put them all in a freezer bag, where they'll be until 24 hours before I want to make a pie...whenever that is :)

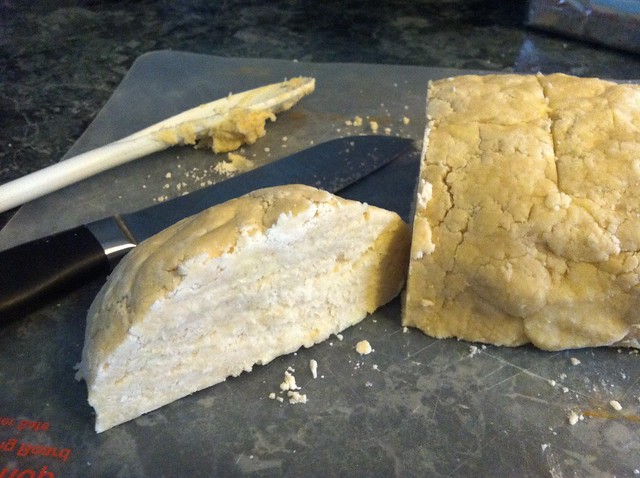
You'll notice that my cuts weren't exactly even - Jo said if that happens it's better to use the big ones for the top crusts

Friday, July 22, 2011

By Invitation Only

I'm not a fan of the 8pack box of invites in every color and theme with the blanks for locations and RSVP dates. Not that I don't enjoy receiving them :), I just go a different way when sending out invitations.
I tried to type that 7 different ways, and all 7 could offend someone who uses the 8-pack boxes of invites, so I gave up and just typed it as I thought it.  Please invite me to your next party anyways! :)

The thing is, I don't like to be boxed in.  What if the address of the party is way too long to fit in that standard underlined portion of the invite?  What if I need to give guests special instructions, like where the bride is registered, or the theme of the nursery?  I could insert a business card with some extra information, but isn't it nice when you can just put the invite in your calendar or slap it up onto the fridge under a magnet without worrying about losing any extra inserts?  

Also, don't you hate it when you're throwing someone a 27th birthday party, but the stores seem to think that birthday is unimportant, in favor of 30, 40, and 50, so you have to get the generic primary color balloon invites...again?

For those reasons, I'm a fan of making my own invites.  Sure, if I'm in a pinch and I have a simple party going one, I'll pick up a pack and love them just as much as the DIY kind, but OCD'ers like me usually aren't in that tight of a pinch.  Knock on wood.
Remember these?  ...and these?  Fun.

My favorite place to get materials, other than my craft closet for a true made-from-scratch creation, is By Invitation Only.  Based on the decor in the store, I'm sure they make a bulk of their sales in wedding invitations, but they have the most awesome wall of paper!  The whole left wall when you walk in is full of blank invites for all sorts of occasions:

It's heavenly!

I visited this heavenly establishment in the last few days to browse their selection for an upcoming birthday party.  The helpful associate pointed me in the right direction to find paper that might fit the theme, a Riverboat cruise, but unfortch none of the options that were available to take home immediately caught my eye.  They had some fabulous ones that they'd be happy to print for me for only $3.40 each.  No thanks.
So I got creative.  I saw a bunch of preppy geometric invites in red and blue and that got my gears turning.  Red and blue -> riverboat -> water -> nautical -> lifeboat!  
EDIT: Duh, it's not a lifeboat. It's not even a boat at all is it? Life ring! Haha! Thanks Amey! :)

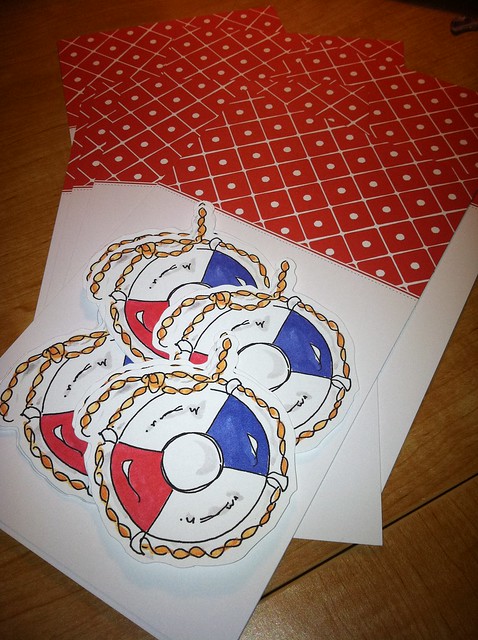
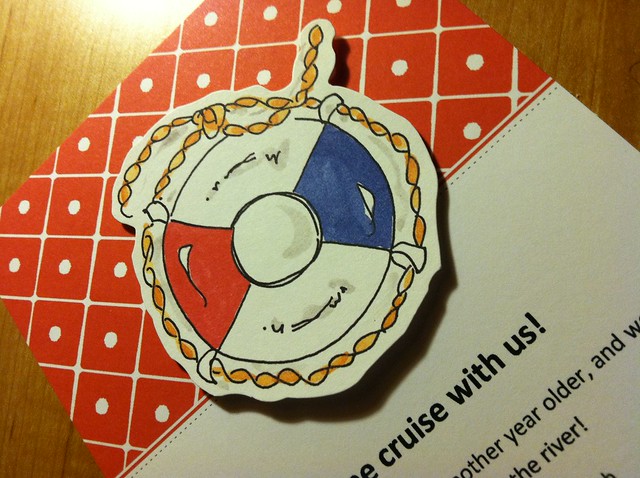
I paired a preppy geometric with a life ring accent and bam!  Invites done!  Well, purchased.  

Both pieces are made by Cross My Heart, but don't bother clicking that link because they're closed!

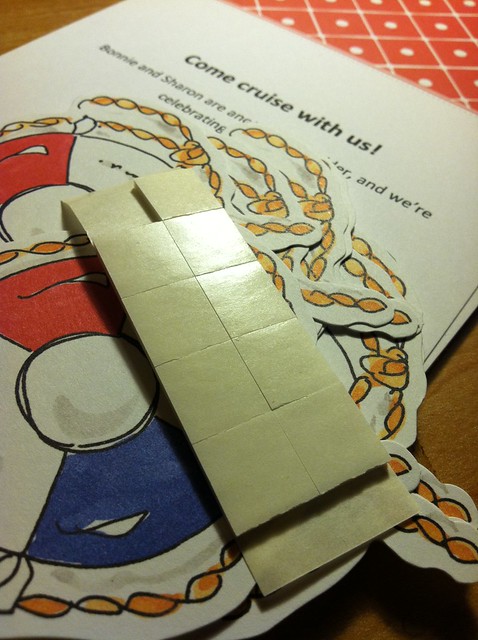
All that was left to do was come up with the wording I want, print them up, and assemble them!  That's the fun part :)  The store even provided glue squares so the life ring seems raised from the paper:

I can't show the whole thing because I don't want to spill the beans about the party until the guests actually receive these in the mail, but here's a sneak peek!

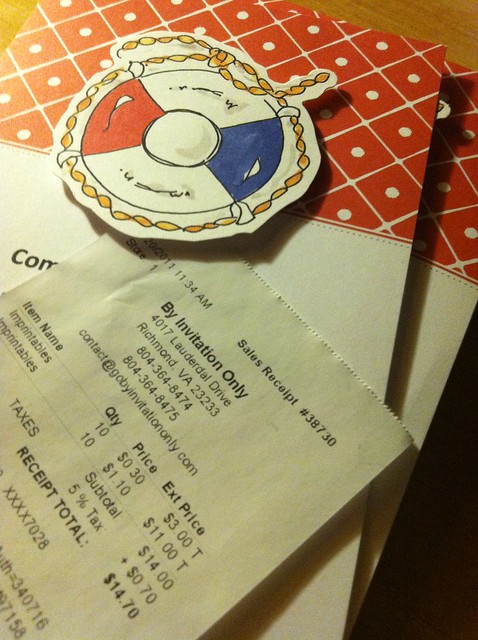
Only $14 for 10 invites - I'd say that's pretty affordable.  Not $3.99, but affordable.

Another great place to get invites in RVA is Paper Plus at Libbie & Grove.  They're awesome, but not 5 minutes from work like the other place :)

Thursday, July 21, 2011

Untangled

I don't think anyone will be able to claim they had an original idea ever again.  The internet contains so much inspiration and information that no project I see on any blog recently seems one-of-a-kind.  Does that mean that, much like the movie industry has produced every possible plot and is now remaking surefire box office hits just to make easy money (please refer to the upcoming remake of 2002's Spiderman), the world has reached its DIY threshold and all bloggers are just recycling other bloggers' unoriginal ideas?

I realize no one is reinventing the wheel by gluing ribbon to an embroidery hoop to make a fun chandy, but they all act like "Hey look at me, I thought about gluing ribbon to a hoop first and look how cute it is!"  Cite sources, people!

Which brings me to a recent project I made.  :)  I will in no way take credit for it.  I got it from the internet.  Though the internet didn't teach me that a hanging shoe organizer can be used for things besides shoes - my brain did.  What the internet did was show me how to think out of the box, look around my house, and decide what I'd use it to organize.

Here are some ideas:

  • Is your paper punch collection taking over your craft room?  Do you not have a craft room and need a clever way to hide your crafting supplies in plain sight?  Here's your solution:

Uploaded by "950Nancy" to scrapbook.com

  • No closet in your bathroom?  Slap one of these puppies on the back of the door and you instantly have 16-20 pockets to fill with soap, lotion, shampoo, medicine, and other sundries:
  • Do you have a pre-teen with too many accessories and not enough drawers?  Use it to store headbands, lip gloss, ribbons, bracelets, etc:


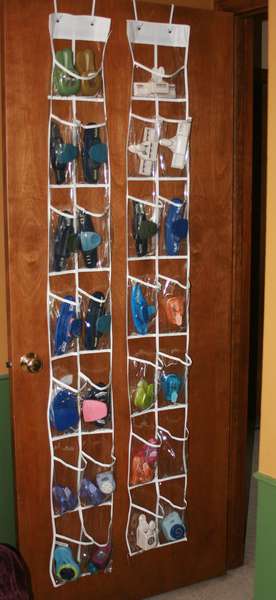
  • Bonnie uses hers to organize gloves, scarves, games, and other things in her foyer closet - I tried this one time with a jewelry organizer and the pockets were too small, so I used a rod-hanging shoe organizer instead:


The last idea I'll share is from that little shit of a TV show, Extreme Couponing, where one of the shoppers featured uses it to store spice packets and other small pantry items, similar to this:

Great ideas - especially for people who live in small spaces and need to maximize every inch of real estate they have!

The last one I'm sharing is from My Sweet Savannah, though she posted someone else's pic without a photo credit.  That bugs me to no end!  This shoe organizer is being used as an advent calendar - how cute!  Instead of crappy candy, you could use this version to store larger ornaments or small gifts leading up Santa's visit?  This might help explain the different between mom and dad gifts from Santa gifts?  Maybe?

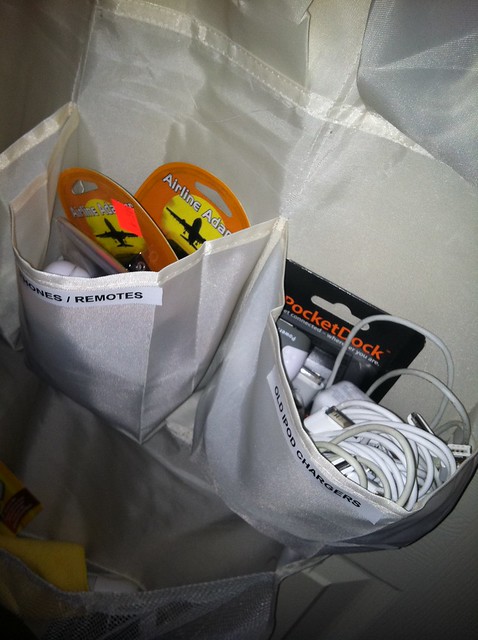
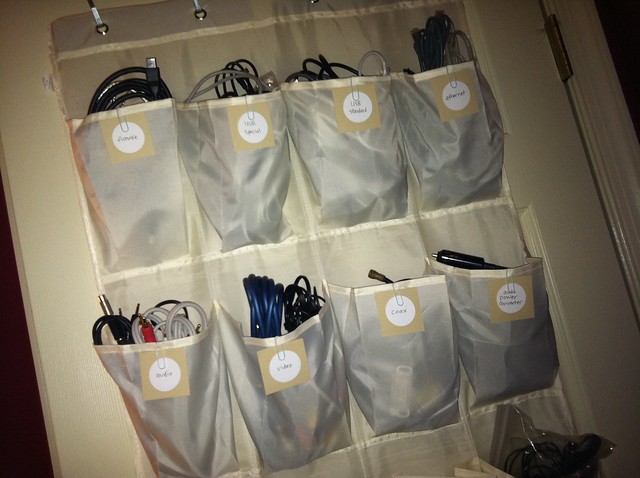
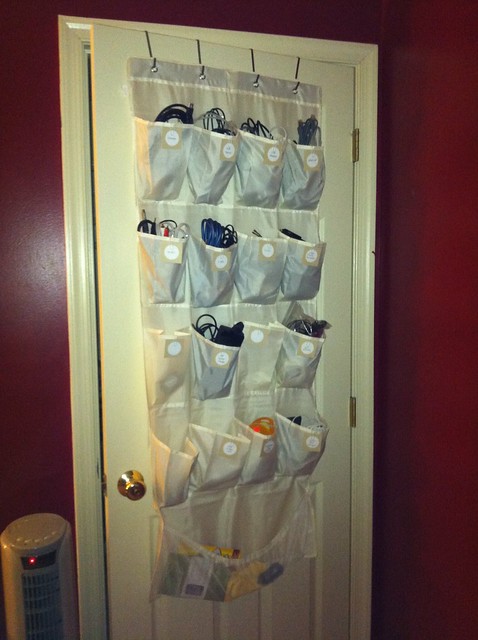
I decided to use mine to organize the menagerie of cords cluttering up our office.  We had a pile in a drawer, some organized in CD boxes, others in camera bags, some in the living room even though we don't use them every day...you get the idea.  We had a semi-OK organization system a while ago, but it has progressively gotten out of control.  This system will work much better - all the cords are in one place, labeled so anyone (read:  Dave) can put the cord back where he found it (is that wishful thinking?).

I picked up a 16-pocket shoe organizer at Target for $7.99.  I didn't want a clear one because all the mess wouldn't really be hidden, plus those are more expensive.  Why pay twice as much for 4 more pockets?  No thanks.

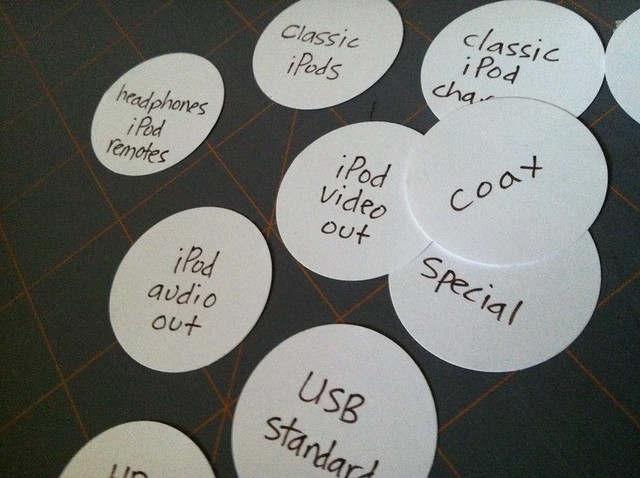
Dave helped me put the cords in categories.  I could handle headphones and coax, but I don't know the different between a USB to 6-pin vs. firewire, so his boy-nerd-ness came in handy :)  Oh, and I know you're dying to know our categories - I can hear your thoughts - so here they are:

  • classic (read:  old) iPods
  • classic iPod chargers
  • iPod video
  • headphones/iPod remotes
  • audio
  • video
  • firewire
  • coax
  • USB standard
  • USB special
  • old cell phones
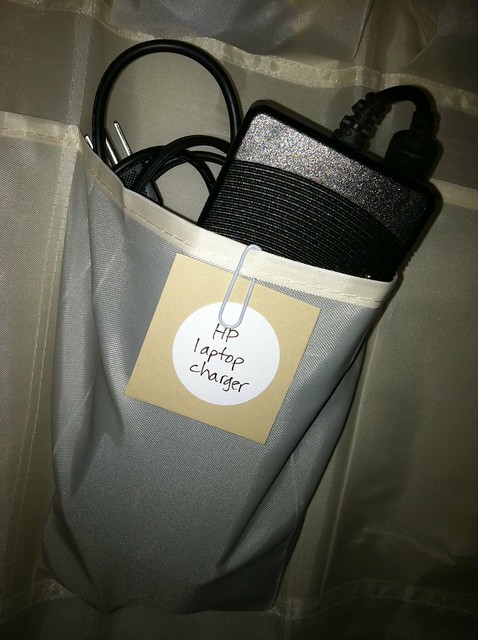
  • HP laptop charger
  • car power adaptor
  • ethernet - I tried to get rid of this because it's so 1998 but Dave convinced me that it might come in handy if the wireless network stops working and I need to hard wire my laptop to the modem.  Will I ever be that desperate for the internet?  Yeah, probably.

Once we decided our categories I got to work with my Dymo, printing labels for each pocket. Only when I stuck them on, I decided it was tres fugly.  See how the edges are curling up?

Do not like.  So I went to the internet to get different label ideas.

I love iHeartOrganizing!  Her blog is so cute and she thinks of the most creative ways to store things. She recently featured a closet re-do submitted by A Thoughtful Place, who had a fabulous labeling idea.  So I stole it.  Shamelessly.  But I cited my source, see?  :)

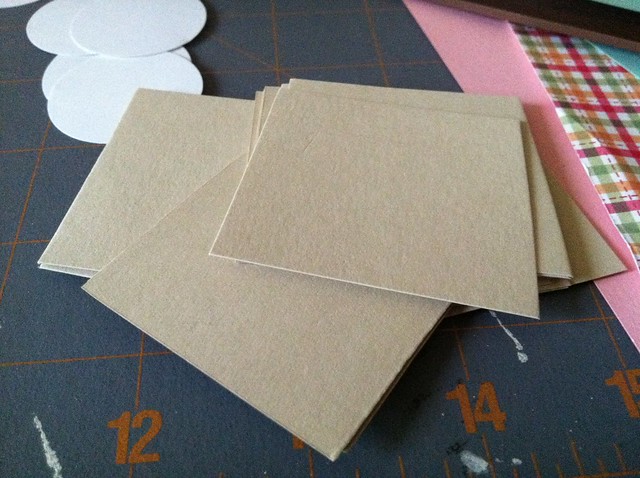
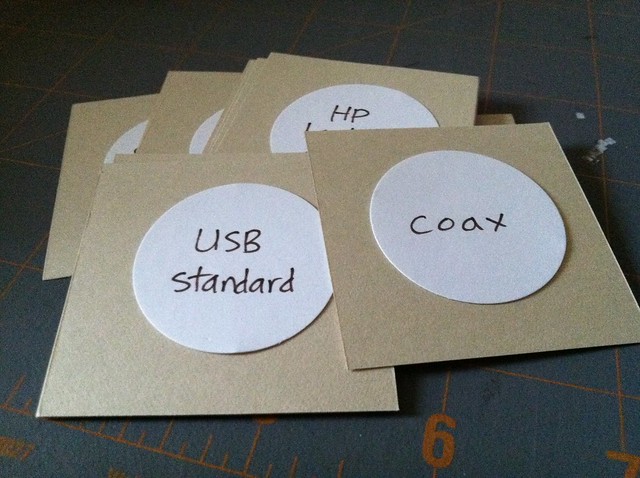
I like this method because it's not permanent - if she ever feels like the tape measures need to go somewhere else, she can just un-clothespin that label and put a new one in its place for gloves, or sunscreen, or whatever.  I didn't want to go out a buy clothespins, though, so I used some white paper clips we had in the office.  After using some paper scraps (from my anniversary book project earlier in the day) to make white circles and beige squares, I was ready to assemble my labels!


...and here they are in their places:


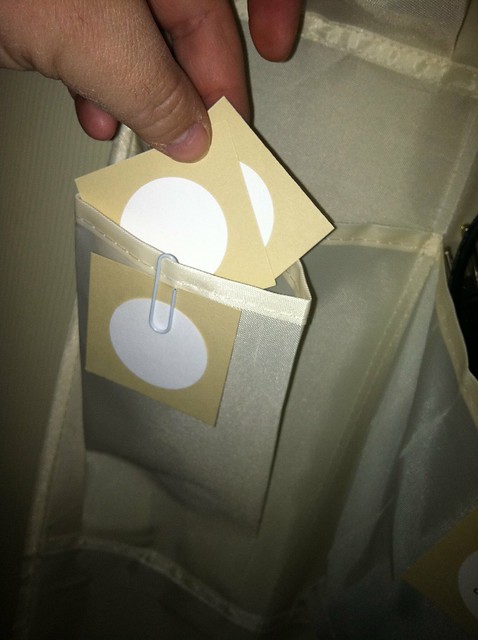
I added blank labels to the 2 empty pockets and used one to store some extra labels for re-organization as our cord needs evolve :)

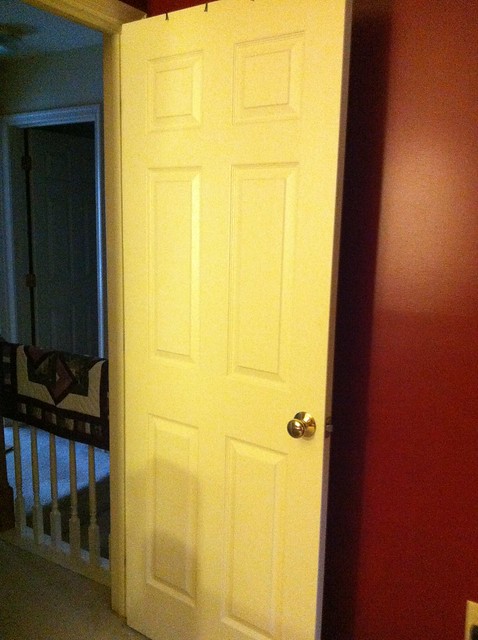
The best part?  When I open the door, allllll the cords are hidden!


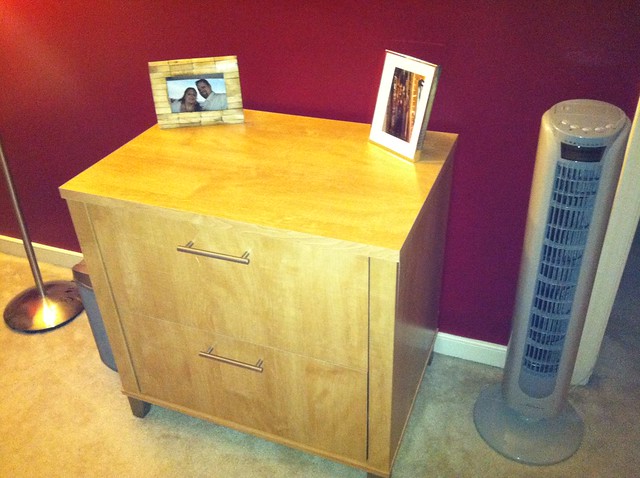
The second best part?  The top of the filing cabinet is clear!

Sunday, July 17, 2011

Anniversary gift re-purposed

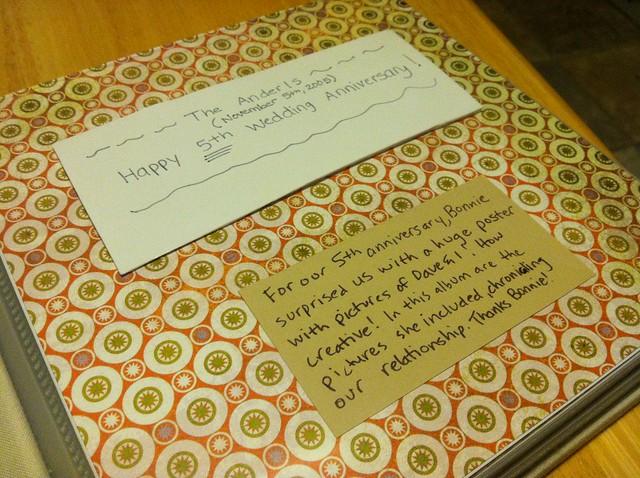
For our 5th anniversary, Bonnie surprised us with a huge poster full of pictures of Dave and I since the beginning of our relationship!  It is so cool and I'm sad that I don't have the wall space to display it as-is.  So I changed it up a bit - the sentiment is still there, but now I can find an appropriate place to store it with our other pictures :)


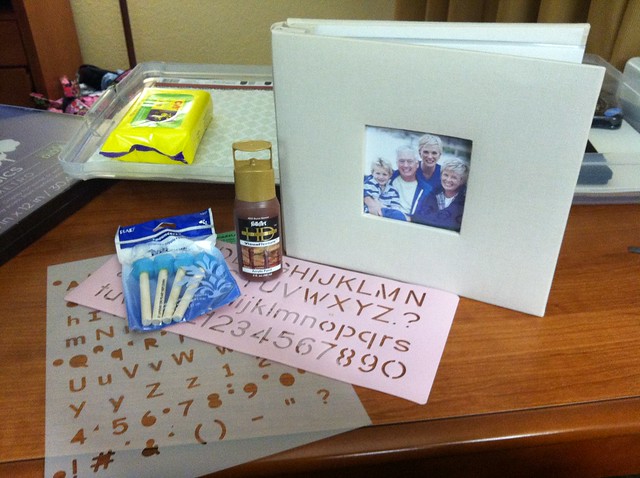
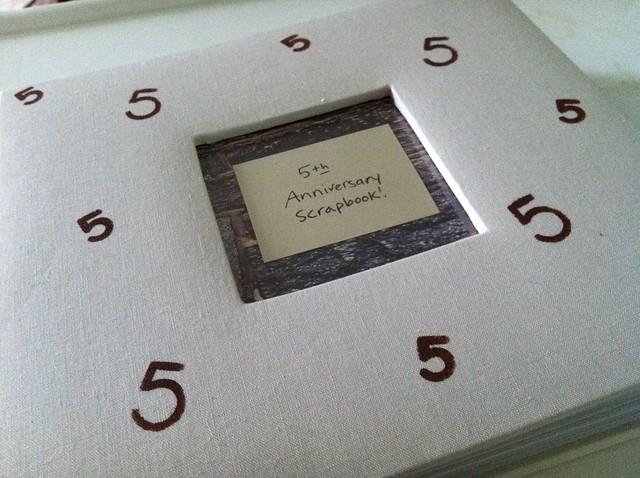
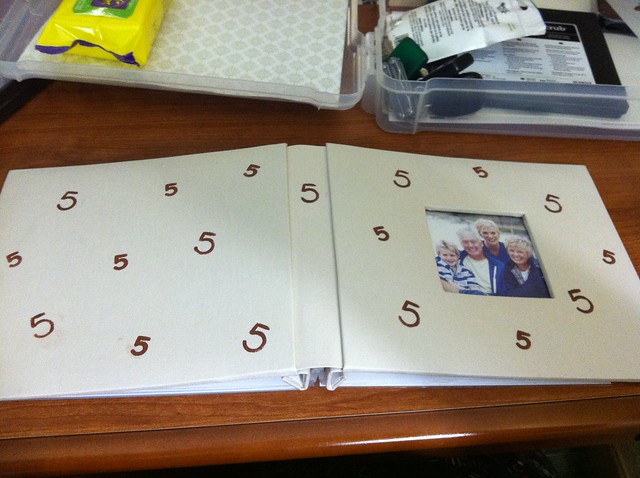
I previously shared that I wanted to re-purpose it as a photo album with 5's (5th anniversary gift...get it?)  stenciled all over the front and back covers...kinda like I blinged out an inspiration notebook I made back in the 90's for future home ideas and things that made me happy.  I got started on this project while we were at the beach a few weeks ago...yep, I didn't have time to step foot on the beach, but I did have time to do this.  It was midnight, it was rainy, so we were stuck inside...excuses, excuses.

All I needed was an 8x8 scrapbook, paper, some canvas paint, stencil brushes, and some 5 stencils from my craft arsenal.

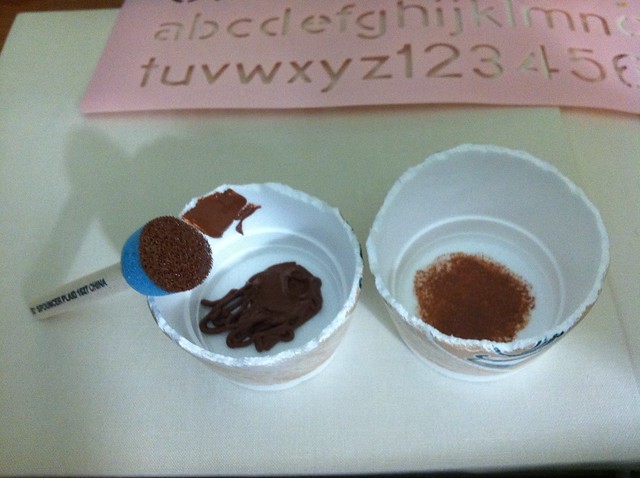
I used styrofoam cups for the paint - 1 for the paint itself, and 1 for dabbing the excess paint off the brush before stenciling:

Then I got to decorating...

That's where the project ended for the weekend.  i remembered to bring many sheets of scrapbooking paper in various brown shades and patterns, but I forgot my paper cutter so I couldn't trim them to the size I needed.  Bummer.

Fast forward to today...after I did some serious organizing in my craft closet, which I'll share in a later post, I felt motivated to work on a project.  I trimmed all my paper and then put all the pictures from the poster in chronological order.  That sounds easy, but it seems that 2004-2008 is all a big blur to me!  Luckily I have a ton of pictures from those trips on my computer so I could double-check the dates for some of them :)  I culd have sworn one of the trips was before the wedding, but turns out it was the following year!  Haha - 32's a little old to be having that kind of memory issue, but oh well.

On the first page, I displayed a portion of the poster Bonnie made.  This way we're not losing any part of her gift!

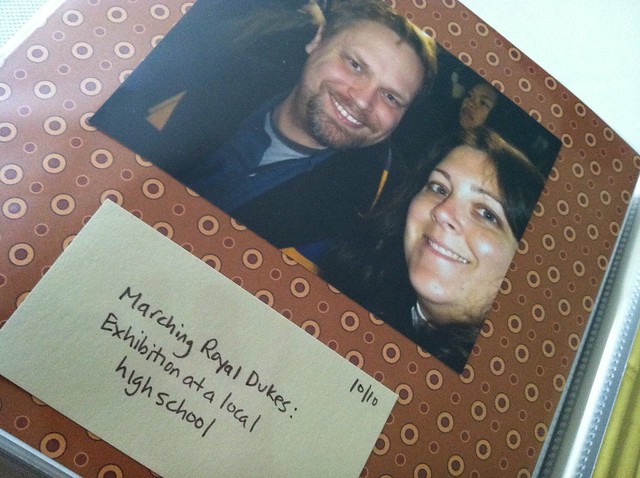
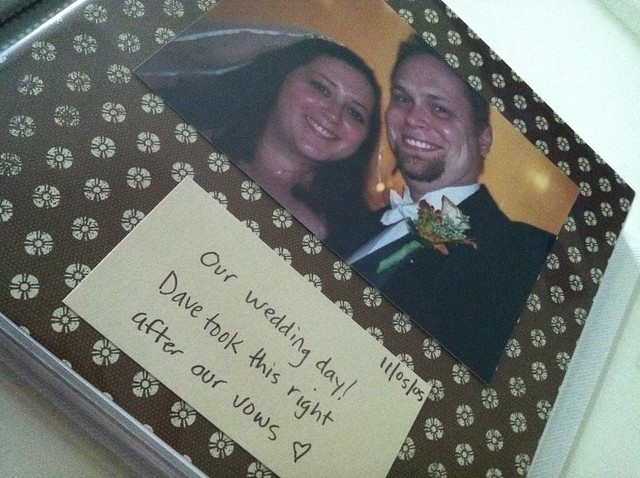
Once they were in order I mounted them on the pages, including a date and description of where the picture was taken...so I won't forget anymore :)  Here are some of the pages:


The finishing touch was filling the photo opening on the cover.  Had I remembered it was there I would have saved one of the photos...but I didn't.  So I improvised, and just stated the obvious:

Now the album has a home with all of our other photo albums in the study...and I can check one project off my to-finish-before-I-start-school-and-have-no-free-time list.  

There are only 4,326 more to go!  :)

Monday, July 11, 2011

Another use for pastry bags...

I've been craving white pizza lately.  I love white pizza.  I was first introduced to it on my family's yearly trips to the Outer Banks.  Corolla Pizza is a (to-go only) dive on 12N - we always stopped there for lunch on our traditional drive up to the Currituck Beach Lighthouse area.  They have benches outside, so we'd order our white pizza and eat outside on the bench or in the car.  We weren't the only ones doing it, either.  That tourists are willing to sit in their cars to eat this pizza rather than at a table says a lot about their cuisine.

I don't have white pizza very often because I don't want to ruin my chances of building up a craving for it.  If you eat something all the time, it feels less like a treat and more routine.  Not cool.  I have that craving now.  So I acted upon it.

The only problem with my white pizza craving is that the recipe I use for the filling makes so much that I always end up with extra.  I know, you're thinking "just 1/2 the recipe, dummy."  I know you're right, but I just never do.  It's one of those things you only think about when you're pissed off because you have so much leftover; not when you're craving it or buying the ingredients for it.  Kinda like that expired system password that you only think about when you actually need to get into that particular system NOW, but tomorrow after your coworker pulled the information for you, you no longer think about resetting that password...since it'll be months before you need it again.  Am I right?  Amen.

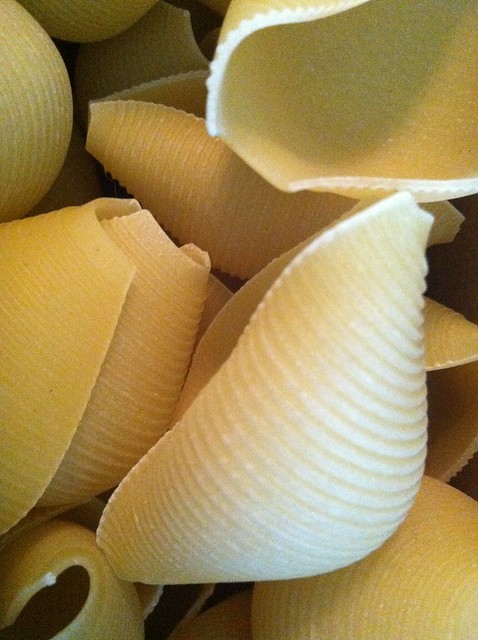
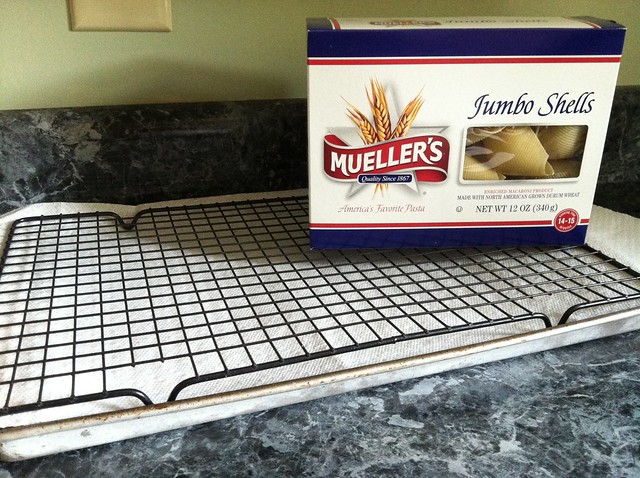
I decided to preempt the extra filling dilemma this time by making stuffed shells, something I've never made before.  The recipe on the Mueller's jumbo shells box is the one I use for the white pizza filling anyways, so I'd just have to figure out how to actually stuff the shells.  Couldn't be too hard, I thought.

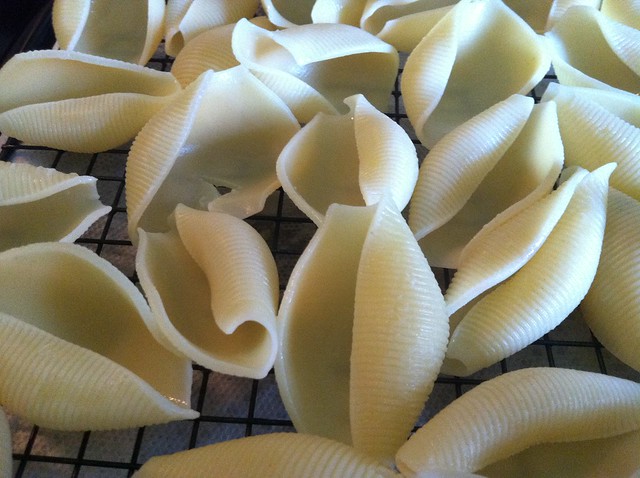
I prepared myself for the to-be-cooked shells by assembling my drying rack, which consisted of a cookie cooling rack, cookie sheet, and paper towel.  I'm sure a paper towel or regular towel straight on the counter would work, but I learned I am too sloppy for that method when I made tres leches cupcakes and ended up with this mess:

This worked better for me :)

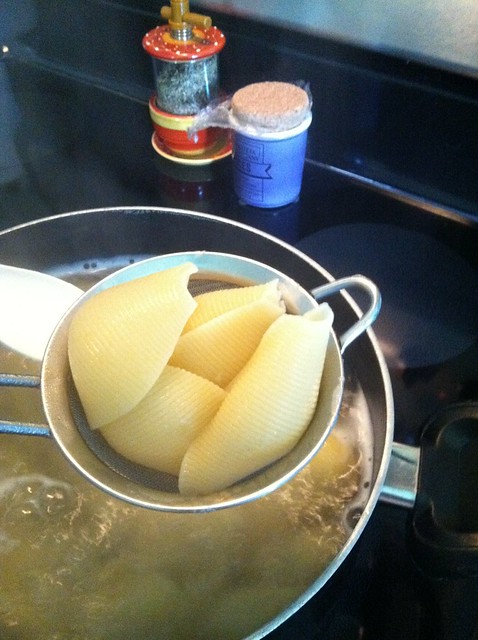
I boiled the noodles for about 8 minutes and then scooped them out of the water, rather than dumping them into a strainer.  I thought they'd get trashed and broken when they hit the strainer.


While the noodles were cooling/drying, I prepared the filling:

  • 2 cups low-fat ricotta cheese
  • 2 cups shredded mozzarella cheese
  • 1 3/4 cups shredded parmesan cheese
  • 1 tbsp or so of Italian seasoning blend
  • 2 eggs
  • 1 package frozen spinach (cooked and drained)
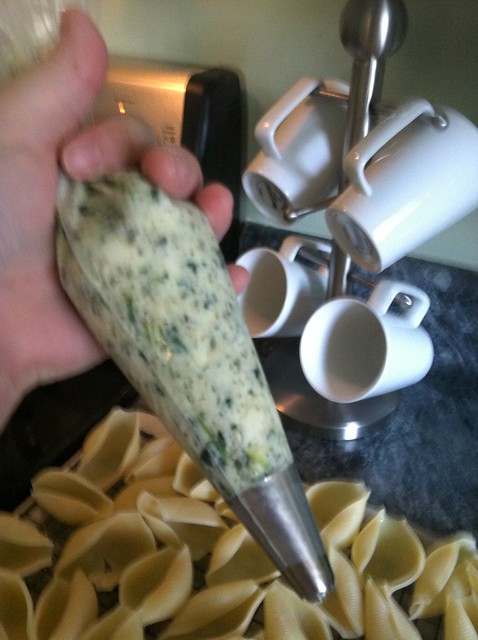
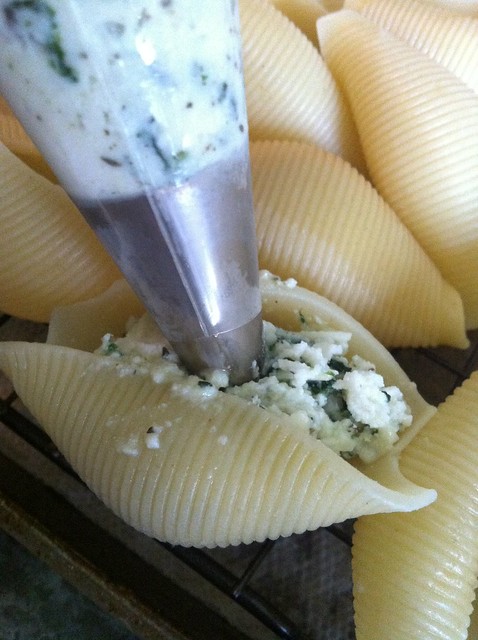
Once that was ready I filled up a piping bag - I thought it would be easier to pipe the filling into the shells, rather than figuring out how to hold the shell open, scoop the filling into a spoon, and then insert it into the shell all with 2 hands.  This way I can hold the shell open with one hand, pipe with the other, and I'm done!  Plus it would give me more precision by putting the piping tip inside the shell so I didn't get cheese everywhere!
Quick!  Call the blurry police!

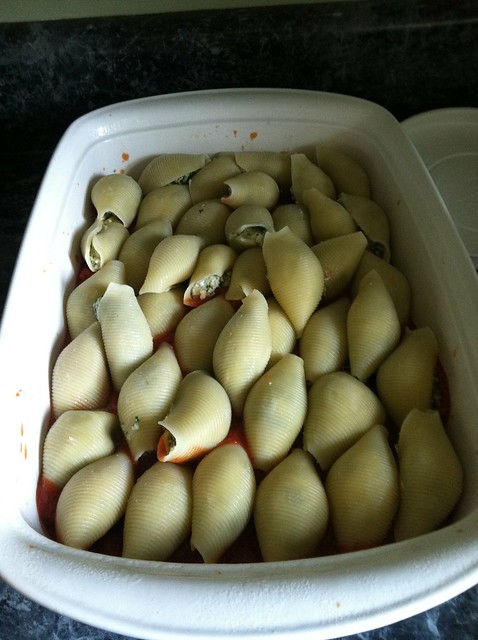
Now it's time to assemble!  I sprayed a 9x13 casserole dish with cooking spray and poured a thin layer of spaghetti sauce into it.  I piped and piped and piped some more until my hand was nearly petrified into a claw shape from holding that piping bag!  Whine!   

Note to self:  get a round tip, rather than using the star tip


I added the shells to the pan one at a time - after texting my friend, Sharon, for help.  She's Italian.  Pardon the stereotype, but I knew she'd know the correct method for putting the shells into the pan - open side up? down?  to the side?  To the side wins!  Except I'm not sure I executed that very well.  I tried :)  Thanks Sharon!

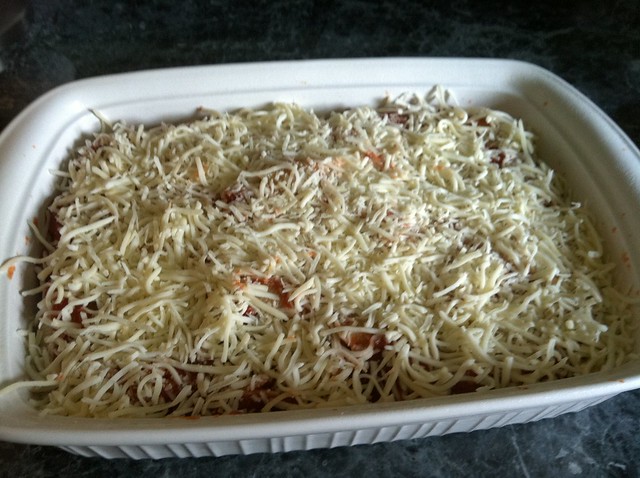
I spread the rest of the spaghetti sauce evenly on top, and then added a layer of cheese...then I put that mama jama in the fridge until tonight.

I was leery of preparing these yesterday and cooking today, but Sharon said it would be okay.  Who wants to come home after a long day of work and cook stuffed shells?  Not this girl.  Instead, I just had to pull the pan out of the fridge and pop it in the oven.

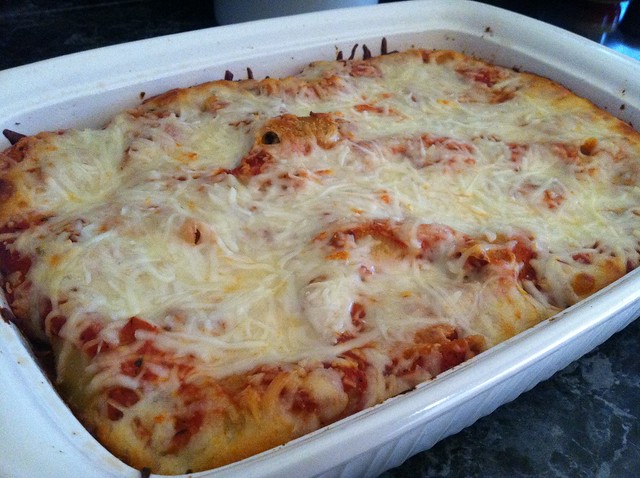
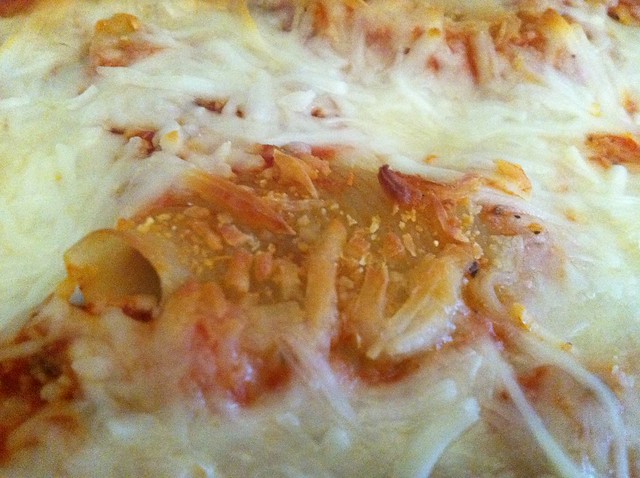
30 minutes later, I have this:

This guy wasn't protected from the elements very well and got scorched.  He still tasted good though:

Stuffed shells = success!

Now I need to find a way to use that extra filling.......................oh yeah, white pizza!  But that will have to wait until tomorrow.  Or Wednesday, because now I'm craving hot dogs.