After high school my mom made me a quilt out of my pile of Stafford shirts, and later another with my JMU shirts. Whenever Dave and I have people over these are the most requested blankets because they are so comfy and warm!
Bonnie and Ashley have been asking for years for me to teach them how to make one, but I stalled and stalled because I was scared I'd mess up and waste their fabric and we'd all end up in tears! I've only made 1 of these myself, for Nate's 29th birthday out of his high school t-shirts , and I was nervous about teaching others something I have yet to master.
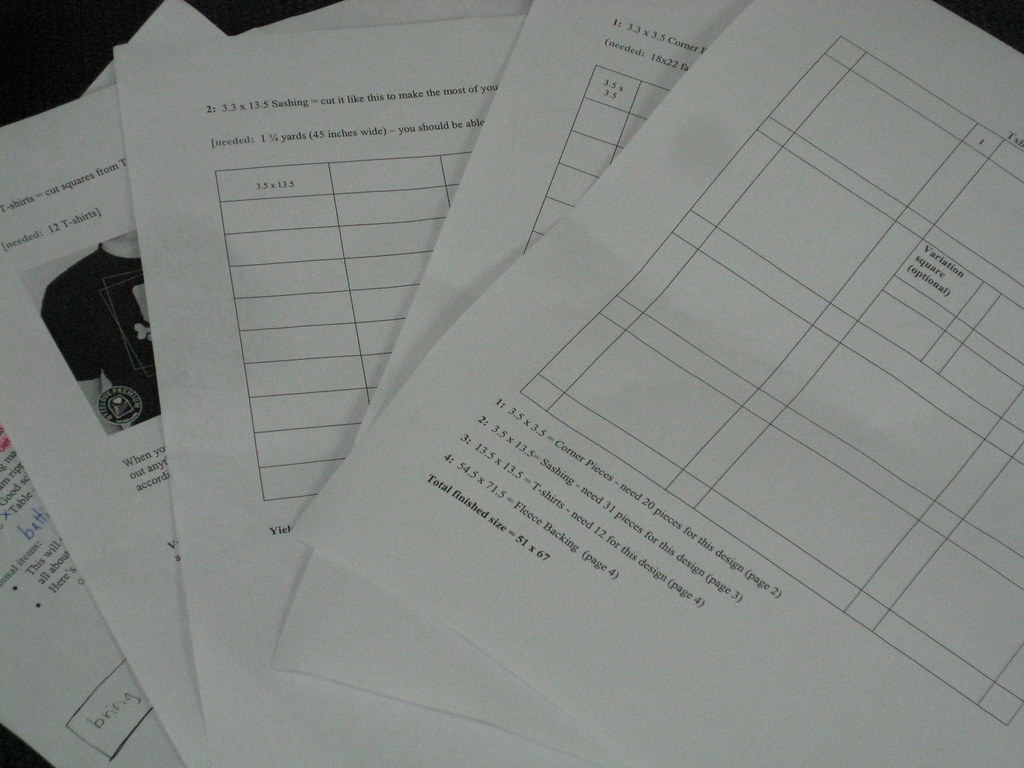
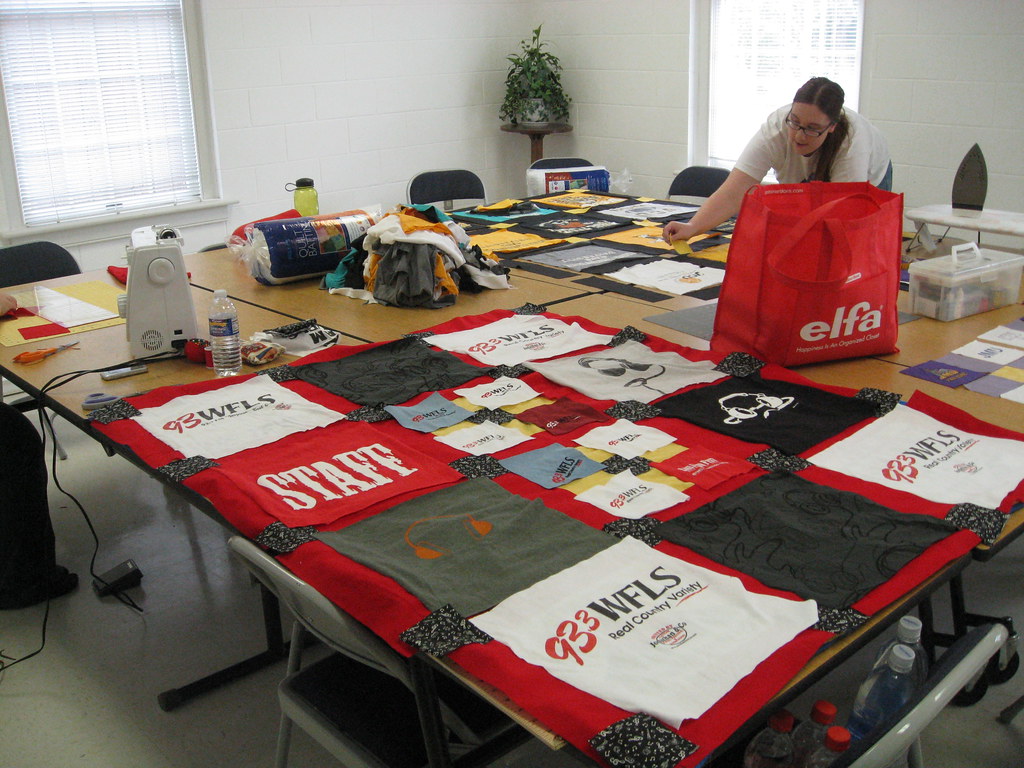
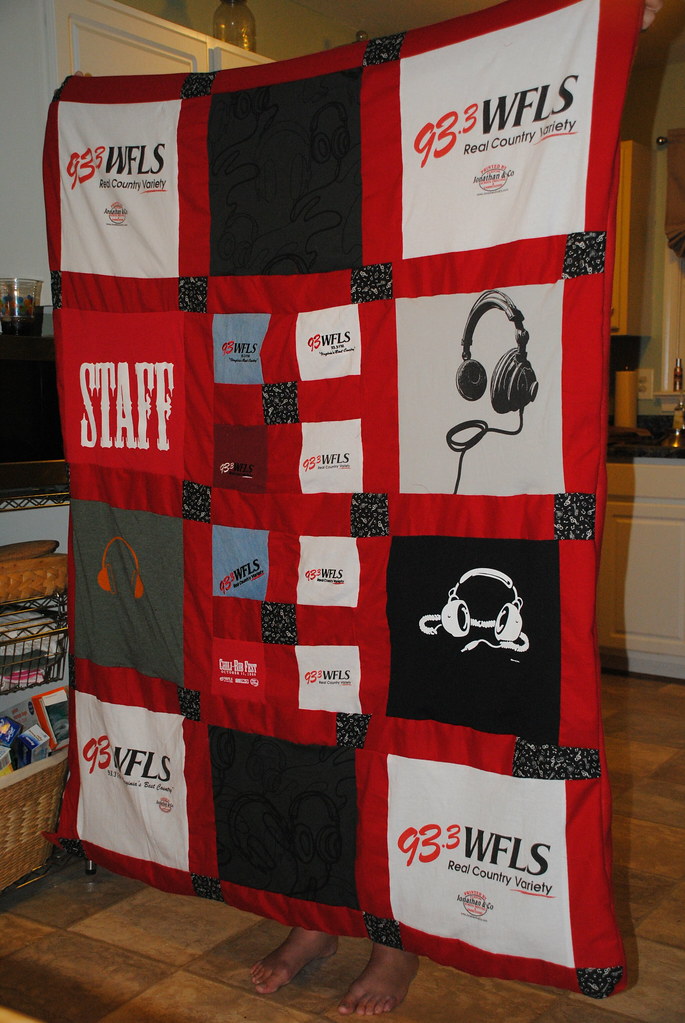
Despite my stalling, we finally made it happen a few weeks ago! Bonnie wanted to make one out of shirts from the radio station where she works, and Ashley would make one from VCU t-shirts, and I was going to make one out of Dave's old JMU t-shirts. Before our quilting day, I worked up this little tutorial so we'd know how much fabric to buy, what size and how many pieces we needed of each color, and how to piece everything together.
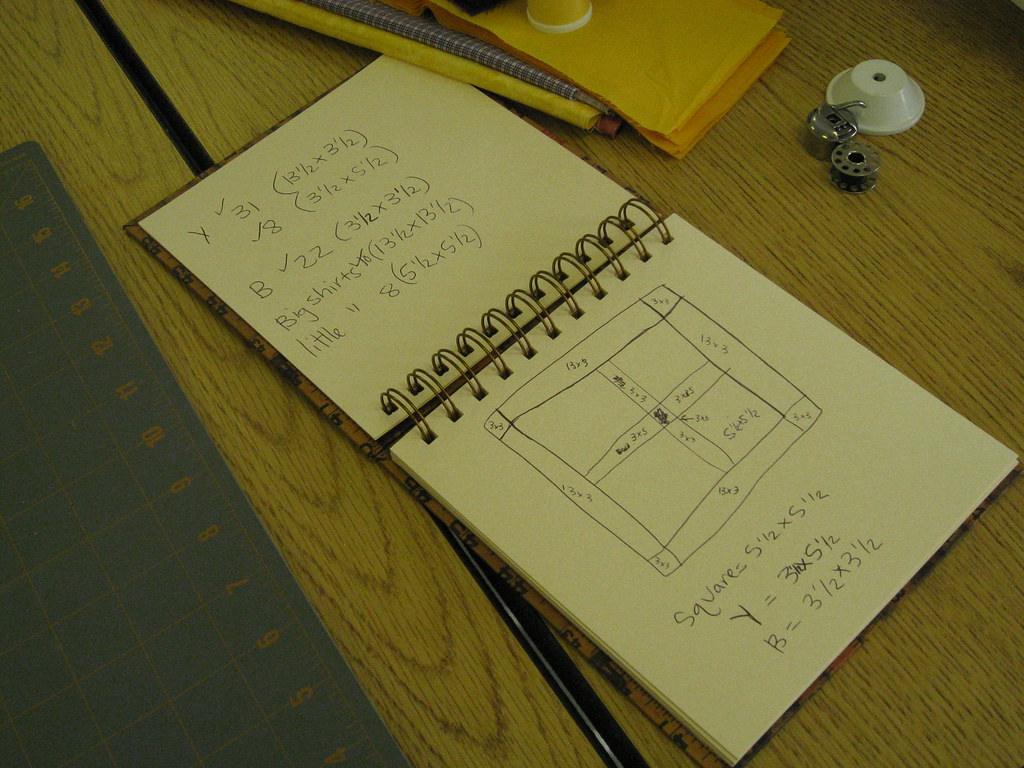
I thought that would work better than my chicken scratch version in a notebook...
I reserved a room at a local church so we could spread out and each have plenty of space to lay out our shirts and fabric while we were working. Once we got all set up we got to work!
Here's what you'll need (use Nate's quilt as a guide and choose whatever colors you wish):
- Square corner pieces (blue in Nate's quilt): 1 fat quarter (18in. x 22in.) cut into (20) 3.5in. x 3.5in. squares
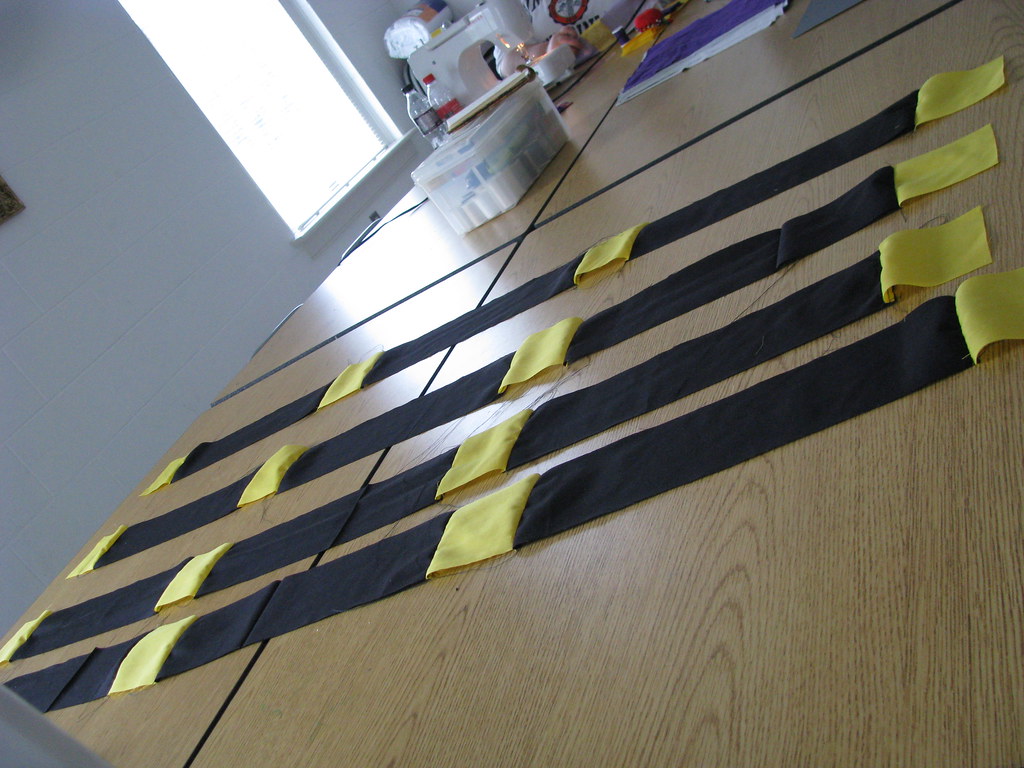
- Sashing (yellow strips in Nate's quilt): 1 1/4 yards cut into (31) 3.5in. x 13.5in. pieces
- Fleece backing: 2 1/4 yards
- T-shirts: (12) cut into 13.5in. x 13.5in. squares
- OR:
- (10) cut into 13.5in. x 13.5in. squares plus (8) 5.5in. x 5.5in. squares
- This variation can be used if you have t-shirts with a small logo on the front and want to use that as well. If you use this variation you'll need 2 more 3.5 inch squares and (8) 5.5in. x 3.5in. sashing pieces
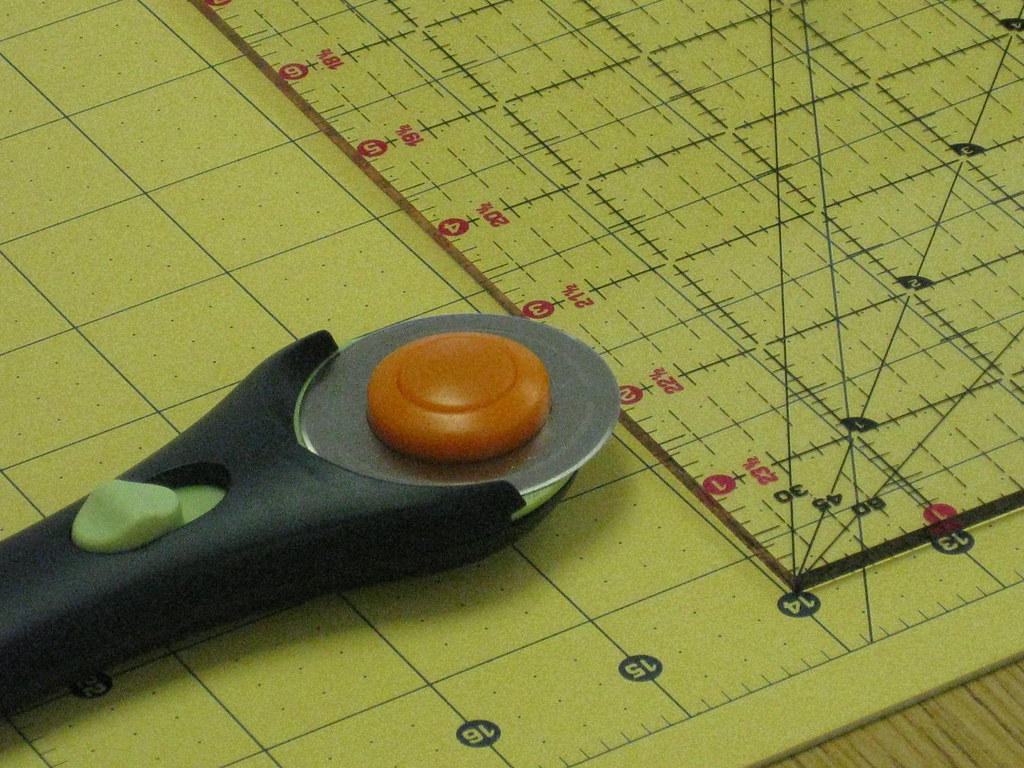
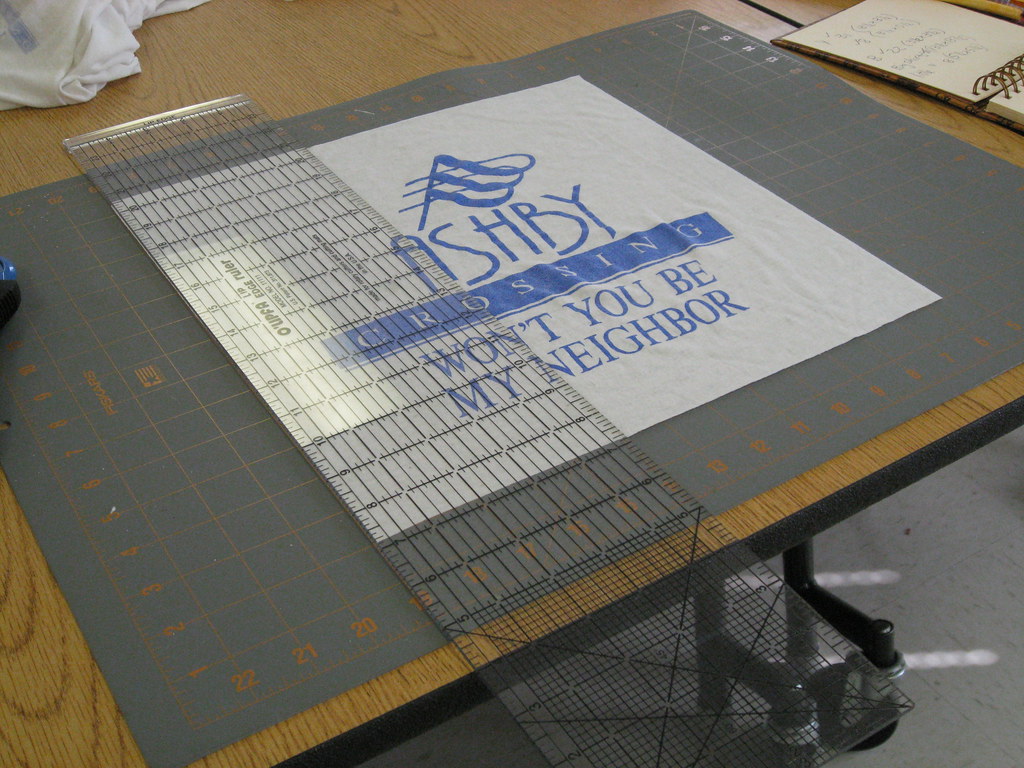
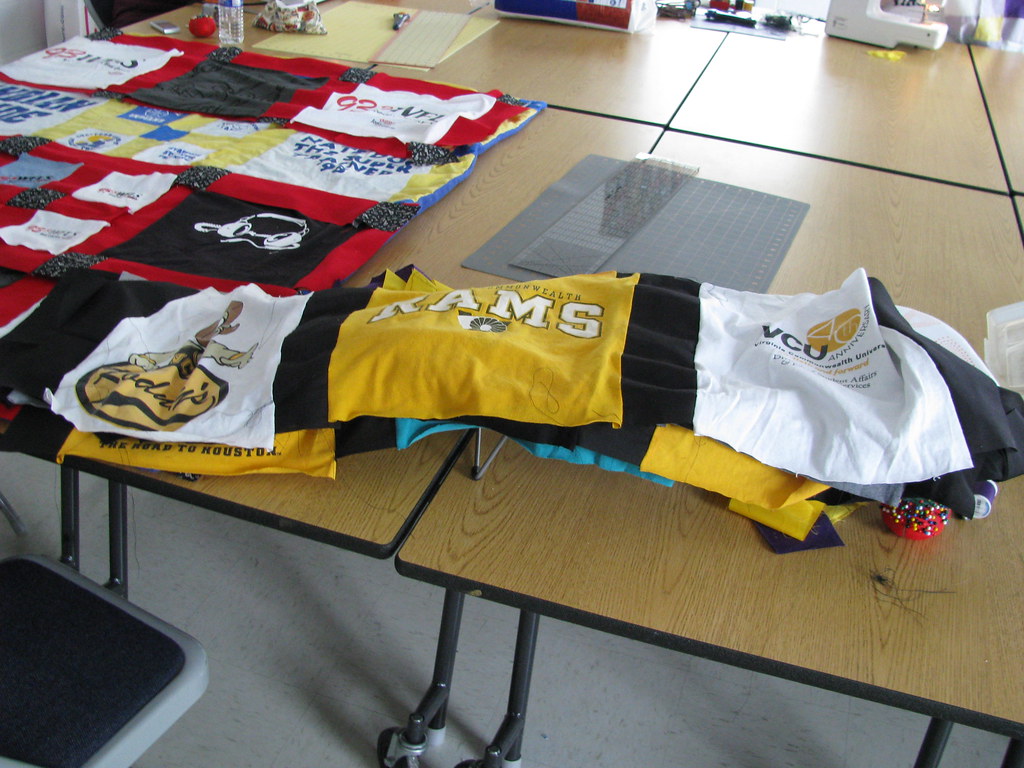
I had pre-cut most of my fabric before we got there so I could help them if needed, but I still needed to cut up my t-shirts:
Bonnie brought Nate's quilt with her and laid out each piece she cut out to visualize how hers would look once it was sewn together. Smart!
Once everything's cut it's time to sew! We did 1 row at a time, starting at the top...
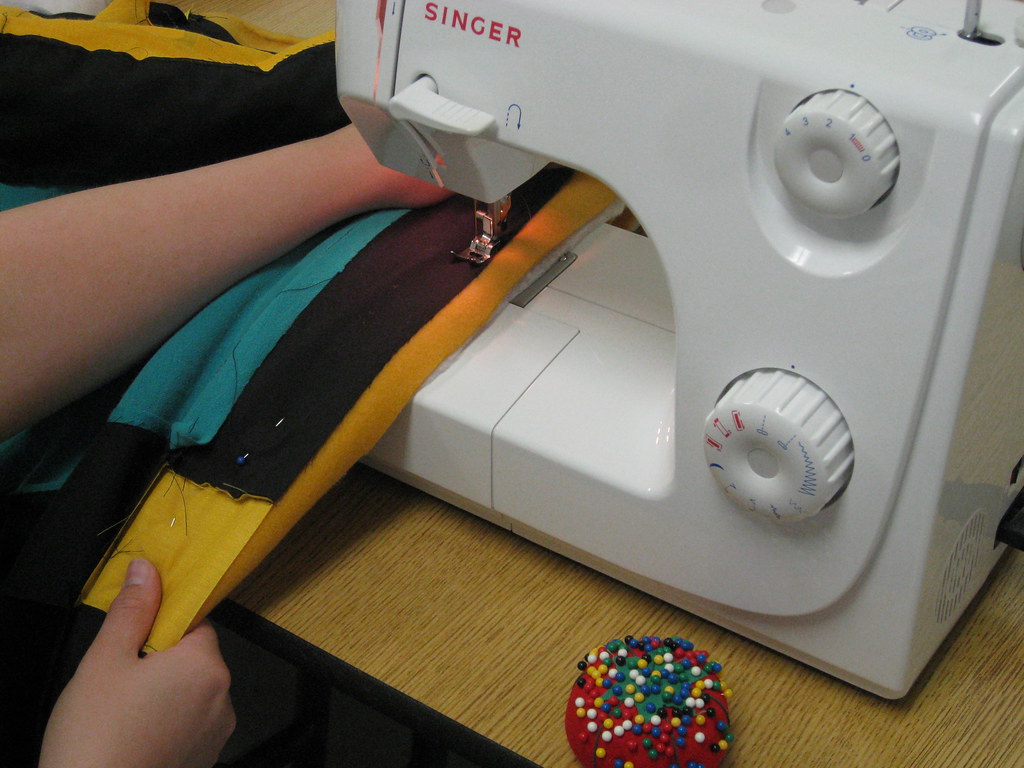
...then we sewed and sewed and sewed...
We had some
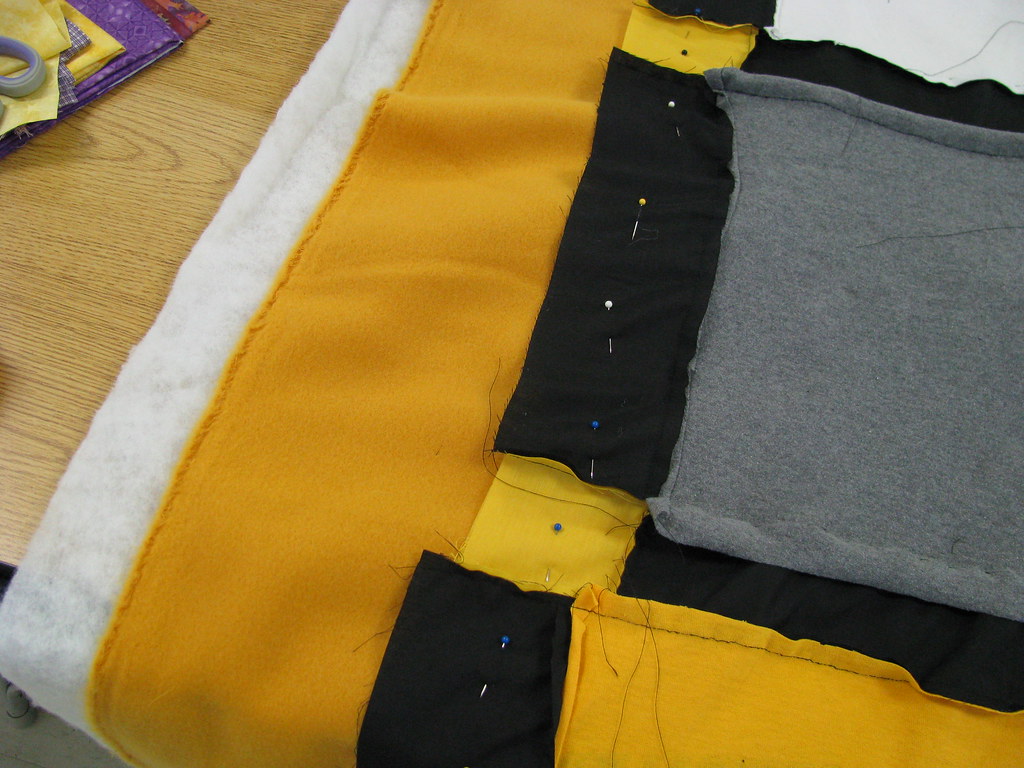
By the time we were finished sewing the front of the quilt, the cleaning guy had arrived to clean the church, which meant we had to scram. So we came back to my house to finish them up! We set up 2 6-ft. tables so we could piece the front with the batting and fleece backing. DOn't have any pictures of this part, but the batting goes on the table first, then lay the fleece on top, then the front piece (face down). Pin all around the edges, trim off the extra fleece and batting and sew all the way around except for a hole big enough to turn the quilt pretty sides out for the finishing touches...
Flip it right-side out, sew up the hole, and you're done! Here they are (pardon the mess):
Ashley has already made another quilt since our day - a co-worker is moving out of the country so people in her office all brought in 1 t-shirt to contribute to a going away quilt. What a great idea! Bonnie needs to make one for her alma mater, American University, and I need to make Dave another one with all his concert t-shirts. Need to schedule another quilting day!
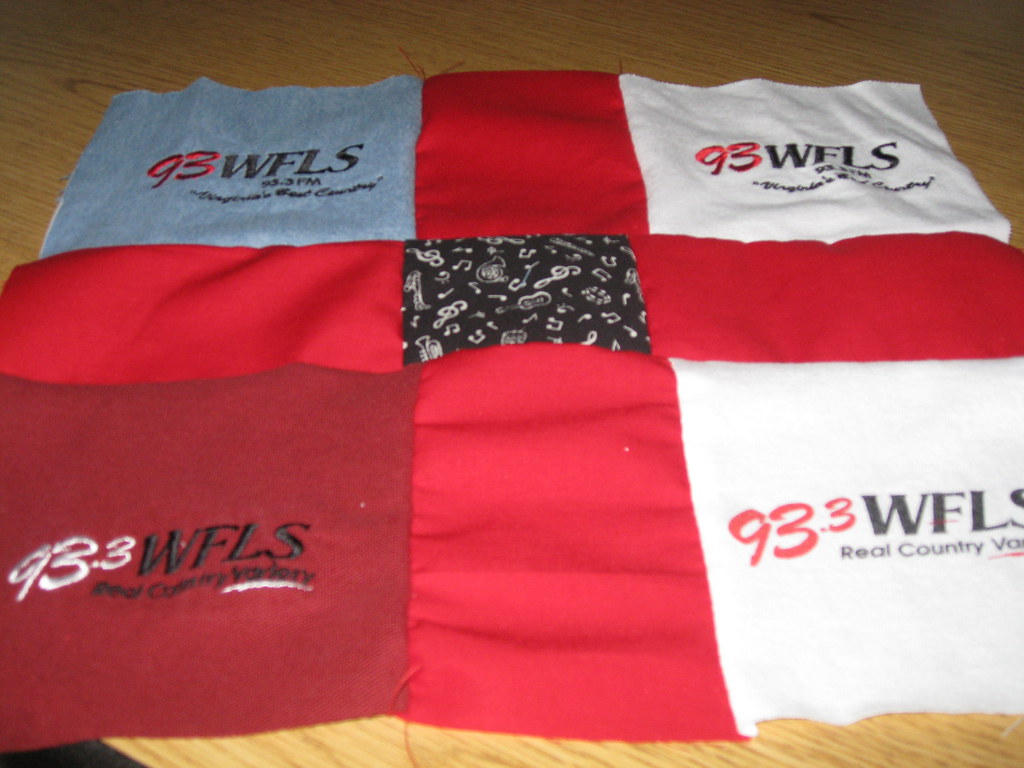
Close-ups:
PS - Compare this project to paying $155+ to Campus Quilt Company to sew your quilt for you!
PSS - I uploaded the tutorial to scribd.com, but if you don't have an account or don't want one, email me and I'll send you a copy!






Thanks for playing teacher and helping us along the way. I love wrapping up in my quilt, it's so warm. :)
ReplyDelete