Saturday, July 6, 2013

Bandana Tablecloth

When Bonnie, Ashley, and I started planning this year's Independence Day celebration, we created a Pinterest board (duh) to capture ideas as we found them.
"Johnsontown" is a long story I can't type right now ;)

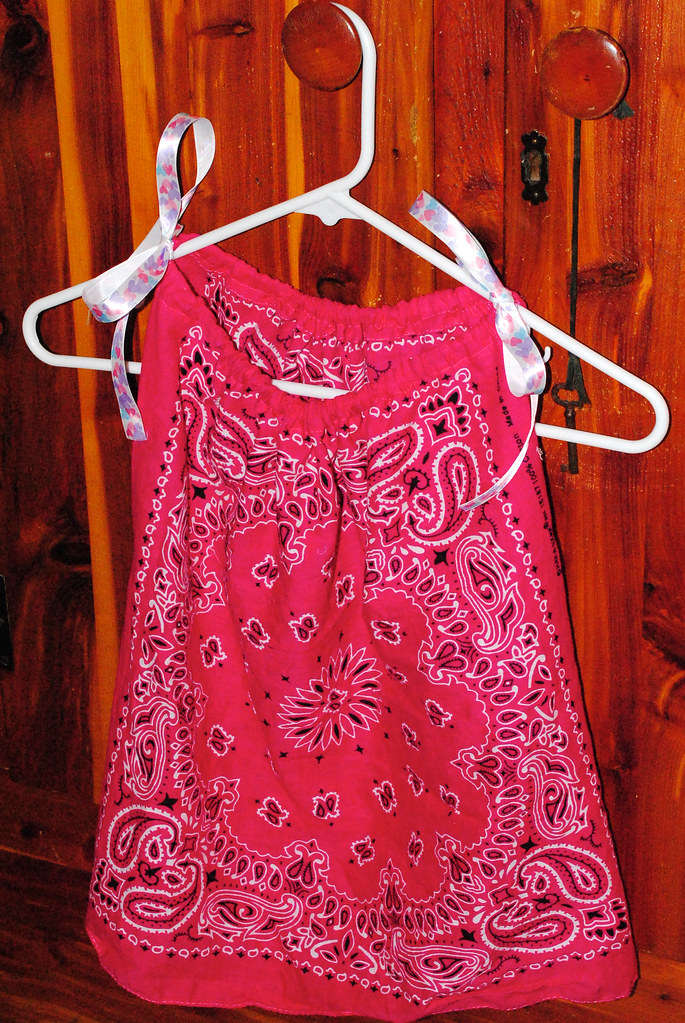
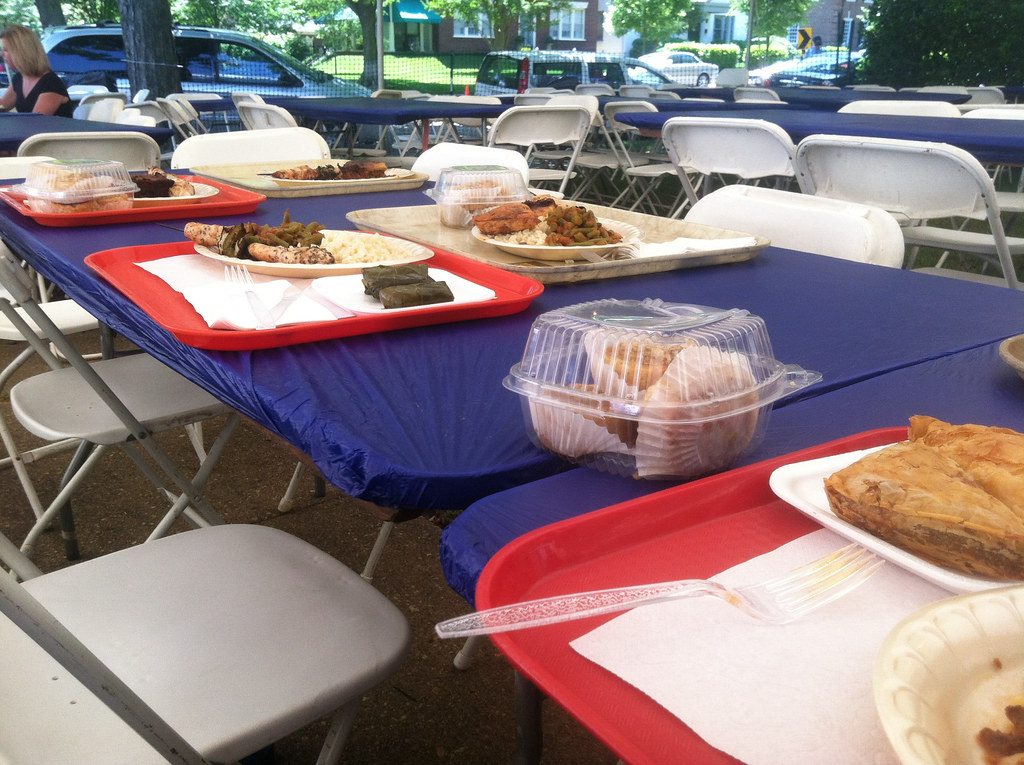
One of the things we pinned was a tablecloth made from bandanas!  While I didn't think it was realistic or necessary to make multiples, it was too fun to ignore for the party, so we decided to create one for a special table and use the more user-friendly plastic tablecloths for the rest of the tables.

I ran out to Joann Fabrics to get my supplies - it's a short list:  12 bandanas (4 each of red, white, and blue).  Assuming you have any color thread at home that's all you need.

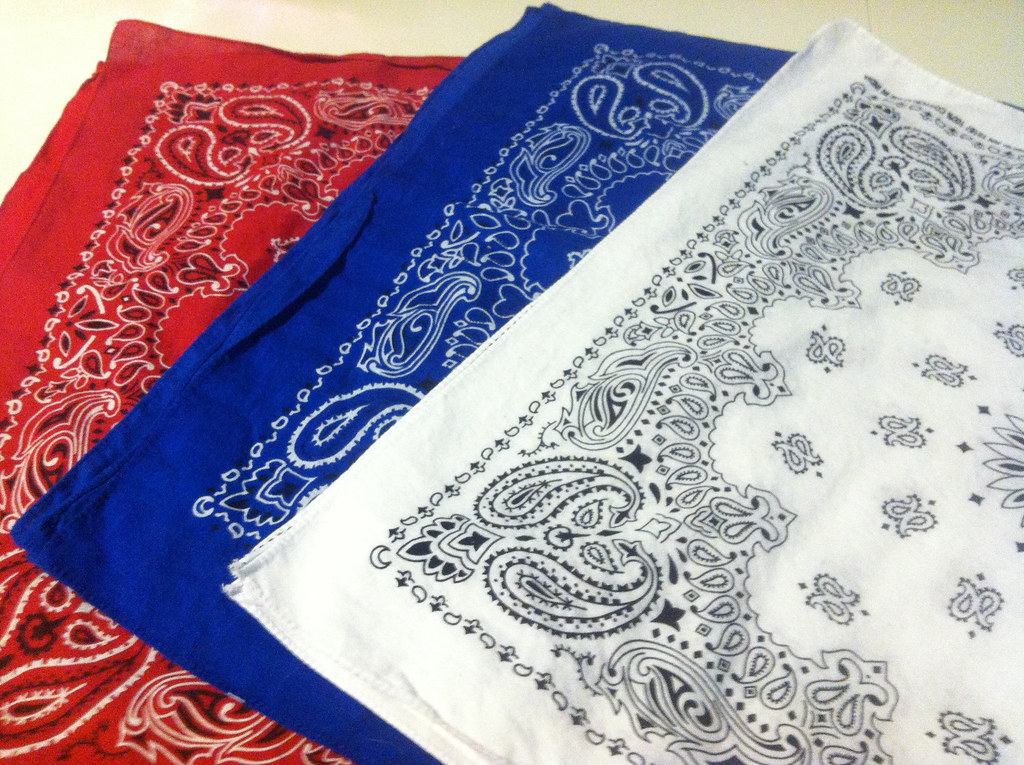
It doesn't even have to be matching thread since there is no edging or exposed stitches - did anyone notice I used light purple thread?  NOPE.

Are my corners perfect?  NOPE.

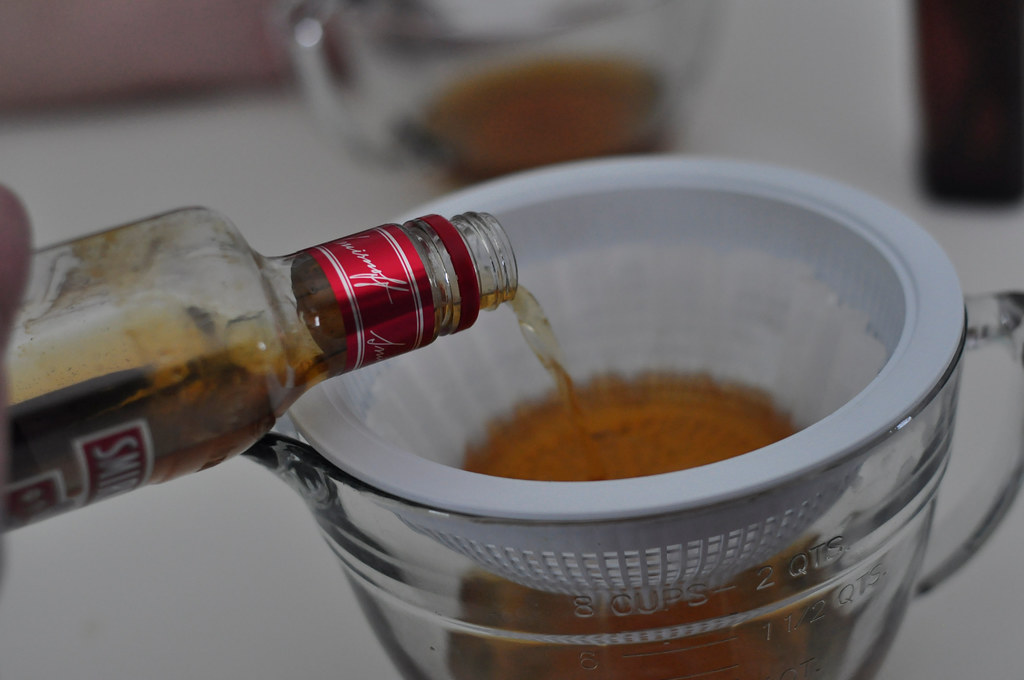
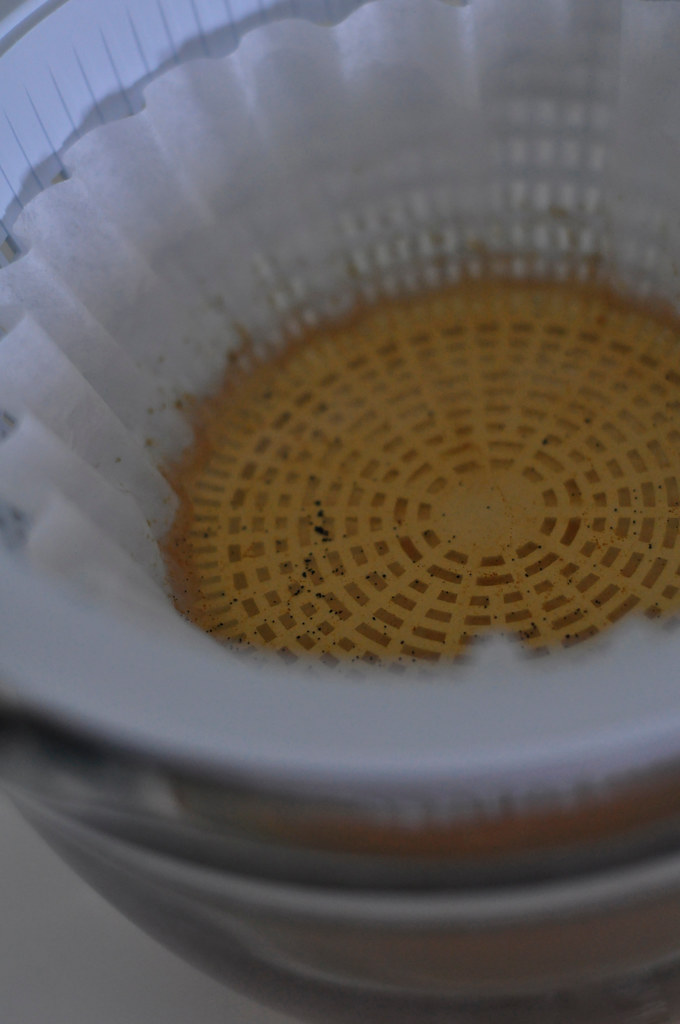
I pre-washed the bandanas with a Shout Color Catcher (or 3) just to get any color bleeding out of the way before I sewed the pieces together.  The bandanas faded inconsistently, which pissed me off a little, but I'm sure no one but me would notice shit like that when they look at this thing.  The separation of colors makes it less noticeable, too.

As far as pattern, I think this is called diagonal rows?  Seems logical ;)  I started with the bottom row with red, white, blue in that order and then the next one was staggered so the red was in the middle.  The third row, the red was on the right side, and top row is the same as the bottom.

Since I just made one, we decided to use it for our games table at the party!  It covered a 6 ft. folding table (3x5 bandanas may have been a better fit than 3x4, but it works) with plenty of overhang on the front.  We covered it with hula hoops, beach balls, bubbles, bocce, glowsticks, and croquet!

Six degrees of Bill Paxton


Alternate Title:  "This is why we still love Chris Hargrave"

You may remember this post, where Chris Hargrave educated us on the very successful acting career of Bill Paxton, after I dared to challenge Paxton's abilities in the critically acclaimed mini-series, Hatfields & McCoys.

Fast forward to last weekend, when Dave and I were watching Pretty in Pink, and I expressed *again* my dissatisfaction with the fact that *SPOILER ALERT* Andie chooses Blane over Duckie at the end.  The silver lining of Andie's choice is that shortly after his rejection, Duckie gains the attention of Kristy Swanson.  Dave said "is that who that is?"  Um, yeah, haven't you seen this movie 37 times?  You never realized that's Kristy Swanson?  I threw out some "OMG!"'s and "YOU PROBABLY THOUGHT IT WAS AMY SMART, AGAIN, EH?!"'s to scold him.  

Seriously, he thinks every blonde actress in any movie or tv show is Amy Smart.  It's really annoying.

Anyway, as any wife does, I went to Facebook to rant about Dave's movie knowledge shortcomings:

The next day at work, Chris Hargrave threw some knowledge our way in the form of Six Degrees of Bill Paxton.

Enjoy.
It all goes back to Bill Paxton with you, doesn't it Chris?!

Wednesday, July 3, 2013

House of Cards

I like to make things.  Creating something out of a piece or paper or some ribbon keeps me sane when I have things racing through my head.  I do my best work when I have a big assignment or project to do, to clear the big stuff out and just allow myself to focus on that task.

Unfortunately, this habit has amassed a large collection of stuff.

I've been working on purging craft tools I'll never use again (or never used in the first place), as well as organizing the tools I am keeping so that anyone who stays in the guest/craft room isn't overwhelmed by the stuff while they're trying to fall asleep!

In the desk, which I'm replacing with a plain table to open up the room a little, you can see 2 cabinets that are holding 3-drawer plastic organizers.  Each of those drawers was packed to the gills with crap, so I need to purge a lot of said crap and find a new place for the rest.

Using the inside of the closet door for storage helped a TON, and these Ikea storage boxes have helped too.  When I want to work on something, I just open the closet and the possibilities are endless...sort of.
     

All that to say I organized my cards!

It doesn't look that bad in this photo (or does it?) but it was a huge pile of cards I made and bought but haven't had the occasion to send yet.  When they were being stored in the plastic drawer, they were organized pretty much like this, so when I needed one it pissed me off to have to dig through the whole pile to find the card that was inevitably at the very bottom.

So I organized them into categories:

  • Birthday
  • Baby
  • Friendship
  • Love
  • Prayer
  • Thanks
  • Holiday
  • Sympathy
  • Blank Inside


I pulled some cardstock from my stash in a fun color, and used some scalloped scissors and some math to create tabs to separate the cards by category:

Now, when I need a card, I can just reach for one!  No sifting through a pile!   Wahoo!

As soon as July is over I'm going to make over this room!  So excited!  I have everything I need except a gallon of paint (Richmond Bisque by Benjamin Moore) and an empty frame to turn into a bulletin board!

Monday, July 1, 2013

Bandana Dress

Alternate post title: "The cutest effing thing on Earth"

One night I was trolling Pinterest while not doing homework (is anyone surprised?) and stumbled upon this bandana dress:

After I about died from the cuteness I decided I want to make one for each of my three favorite little girls - Agnes, Charlotte, and Ellie-belly.

It's as easy as sewing two bandanas together, leaving about 6 inches for the arm holes, and making a pocket at the top for the ribbon straps.  Once you have your ribbon in there you can adjust the neck to any size you need, so the dress can grow with your little girl!

I'm not writing up a tutorial because the blog where I found this did an excellent job of posting step by step instructions.  All you need to do one dress is:

  • 2 bandanas
  • matching thread
  • ribbon that complements the bandana color
  • safety pin for threading ribbon through the neckline

Joann Fabrics has an entire wall of bandanas in just about every color you can imagine.  They also have themed ones for sports teams and holidays, so this is very versatile.  I got ribbon that has hot pink, light purple, and light pink hearts so I could use the same ribbon for all three girls so they match, and then got bandanas in each of those colors for the dresses.

Happy Sewing!

Sunday, June 30, 2013

Work is fun!

Last month my team and I had our semi-regular fun day on the company's dime!  The plan was to get our paint on and then chow down on some Greek food - sounds good, right!?

At our last happy hour (not on the company's dime) we all noticed a cute place across the street called Spirited Art - so we all Googled it and found out they host classes where an instructor leads a painting session and everyone who attends leaves with a finished product! Fun!  We talked about how that may be a good team-builder because there would be different skill levels going in and we could help each other, while keeping each other's OCD in check. :)

So I set up a private class for us to paint the Richmond skyline.  First, let's digest this place:
  • When you walk in, how can you miss this huge color wheel made from paint chips?  AWESOME!
  • The walls are covered with paintings they offer, along with ideas for parties, like girls' night out, birthday parties, date night, school events, corporate team-building, etc.  For date night, you each paint a smaller canvas but the two paintings complement each other, like one is a glass of red wine and the other white.
  • My favorite (other than the skyline, of course) was the leg lamp, but I guess I didn't take a picture?
They were ready for us and had the skyline drawn on tracing paper ready to be transferred onto a canvas
  • Once we had our outlines drawn, an instructor led us through the actual painting process...none of us were confident about this step, but she made it really easy:
  • A bunch of Type-A's trying to be meticulous about something they've never done before brought out some frustration in all of us (especially me!) but the good thing about art is there is never one right way to complete a task and imperfection is a good thing. At least in my opinion.
Here is the finished product:


And, for fun, a close-up:

After we loosened up our shoulders and relaxed from the day's creative part, we moved on to the 38th Annual Richmond Greek Festival for lunch!  If you live in the #RVA and haven't been to this festival, it's worth a few hours - authentic Greek food, music, and dancing...and they have a drive-through if you just want to get a quick dinner on the way home from work.
photo shamefully stolen from here because mine was blurry :)

We all loaded up our plates with a little of everything - pastitsio, spanikopita, baklava, etc.  It was all wonderful, and we just sat under the tent enjoying the sights and sounds of the festival along with the nice breeze cooling us off on an otherwise HOT afternoon.

We all agreed we needed a nap after the huge meal, so we parted ways and I did just that:  went home to take a nap!  Isn't work fun?!

Wednesday, May 22, 2013

DIY Vanilla Extract: Bottling

About a year ago, Bonnie and I embarked on a journey toward DIY vanilla extract.  It has been a successfully journey so far, except in the blog department! :)

So now that we've already bottled 2 batches and are about to bottle the third, it's time for some documentation!

In the initial post, I shared the shopping list:
  • Vanilla beans (whole) - from Penzeys
    • You can also find these at World Market, Fresh Market, or numerous online sources
  • 2 oz. amber bottles - from Elwood Thompson
  • Vodka - from wherever you buy vodka
    • General ratio is 4 beans for each 750mL of liquid
  • Printable labels - we used brown kraft labels by Martha Stewart at Staples
  • Optional:  ribbon for the neck of your bottle
First, a correction:  the original post shows that we only bought 4 2 oz. bottles each.  If either of us had done the math (usually my job and I failed) we would have known we needed way more bottles than that.  We needed 10 bottles for the 750mL of vanilla we brewed.  If you want larger bottles (they come in 4 or 8 oz. but that's as large as I'd go if they are gifts), do the math :)

Once our vanilla extract had been brewing in a cool, dark place for about 90 days, during which it was shaken every time we did laundry (good way to get into the routine of doing it - thanks for the tip, Bonnie!), we got to bottling:

For bottling, you'll need a strainer and some coffee filters so that the beans don't get into the extract bottles.  If bean particles in your extract is your sort of thing, skip this step go straight to the next one.

Pour the vodka/bean mixture through the filtered strainer:

The filters may become clogged, but we just switched them out between pours and all was well.

Then use a funnel to pour extract into each bottle...

...cap them and then comes the fun part!  The labels have an online template, so we just plugged in our text, a vanilla bean jpg and turned the font to brown to match our bottles:


Once we added the labels, we added some purple gingham ribbon for a little country touch, and voila!

LOVE! :)

Spring in my step

Winter sucked.  It snowed a lot but not enough to get out of work or school.  Except that one time.  Not enough! :)

Then spring came.  Then winter came back for a while.  Then it was spring again.  When we were fairly sure there would be no more frost, we headed to Lowe's, armed with a gift card, to pick up some cheerful flowers to add some color to the dreary deck.

We got dahlias:

Gerbera daisies:

And some strange cactus-not-a-cactus plant.  It's awesome

I repotted them and grouped them on my little Ikea table for a little shot of greenery among the patio furniture and wood.  They make that corner so cheerful and I can see them from the kitchen, so every time I walk by the back door I can enjoy them. :)  nerd.

This guy could barely wait for me to repot them.  He must have been hungry for some pollen!  He left me alone, so I left him alone, but I made Dave take his picture.

My deck box lilies came back too!  See, I can grow stuff!  Well, one thing :)

It's amazing what little water can do for a plant :)

I also reorganized my potting bench, but I won't bore you with the details, just:

Shower for Baby Brown

Baby Shower #3 for this year:  Check!

Ashley has probably been planning this event since she met Daniel, so she had a very clear idea of what she wanted:  DIY/ pink / white / burlap!

Instead of doing cheesy baby shower games, we created onesie- and headband-making stations so the guests could make a handmade gift for the baby to enjoy.  Jackie made adorable onesie cupcakes from a plain onesie, a burp cloth, and some burlap, so each guest chose one, unwrapped it and let their creative juices flow!

We had fabric markers, fabric, and paint to create decorations, and I was so impressed at some of the finished onesies!
made by, from top left:  cousin paige, me, sister paige, livi

As they were completed, they were hung on a clothesline to dry:


At the headband station, we laid out plain headbands in just about every color, plus a bunch of fabric flowers, pearls, and rhinestones.


So much fun!  Spoiler alert - Eleanora HATES them so far!  Or maybe she's just hungry ;) :

For decorations, Jackie made a HUGE banner that spanned the entire front window by the food table - so sweet!

Georgia wasn't able to attend, but sent this awesome diaper cake with her mom and sister - Baby Brown's dad is obsessed with Jaws and is an avid fossil hunter, so this shark-themed cake was so appropriate!  And adorable!


Ashley is using Ikea's origami fabric for Eleanora's nursery, so she created a message board using the same fabric and asked everyone to sign it as a guest book.

There was a great turnout, and Ashley received so many wonderful gifts!  We had a great time and were all so excited to meet Baby Brown! :)