Luckily they made copies of the recipes for me so I could make them at home! Wasn't that nice? Love them. By the time I got the recipes and had the motivation to try roasting a pumpkin for myself it was Thanksgiving and it was impossible to find a pumpkin. By then all the stores have Christmas greenery instead of pumpkins, so I waited until this year to try it out.
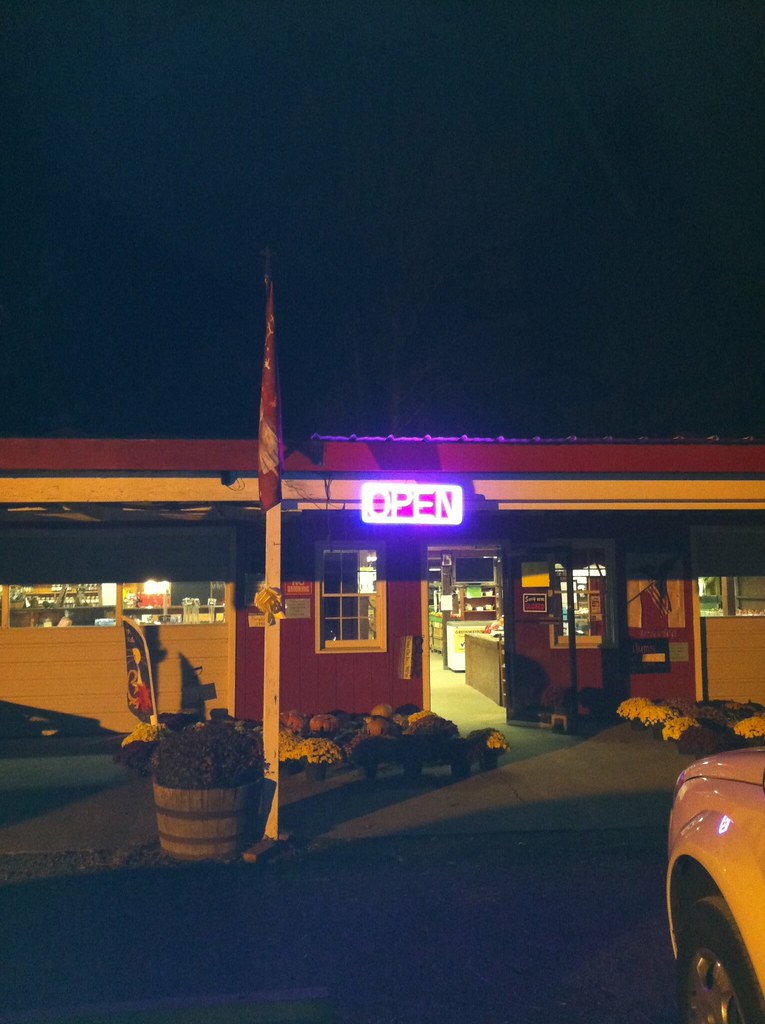
Unfortch, I almost waited too long to find a pumpkin again. Can you believe that? I can. I'm such the procrastinator lately. Hope it's only a phase. Monday night Dave and I trekked out to Chesterfield Berry Farm's Skinquarter Market to pick up a pumpkin since all the local stands and grocery stores got rid of them after Halloween - we got there with 2 minutes to spare before they closed!
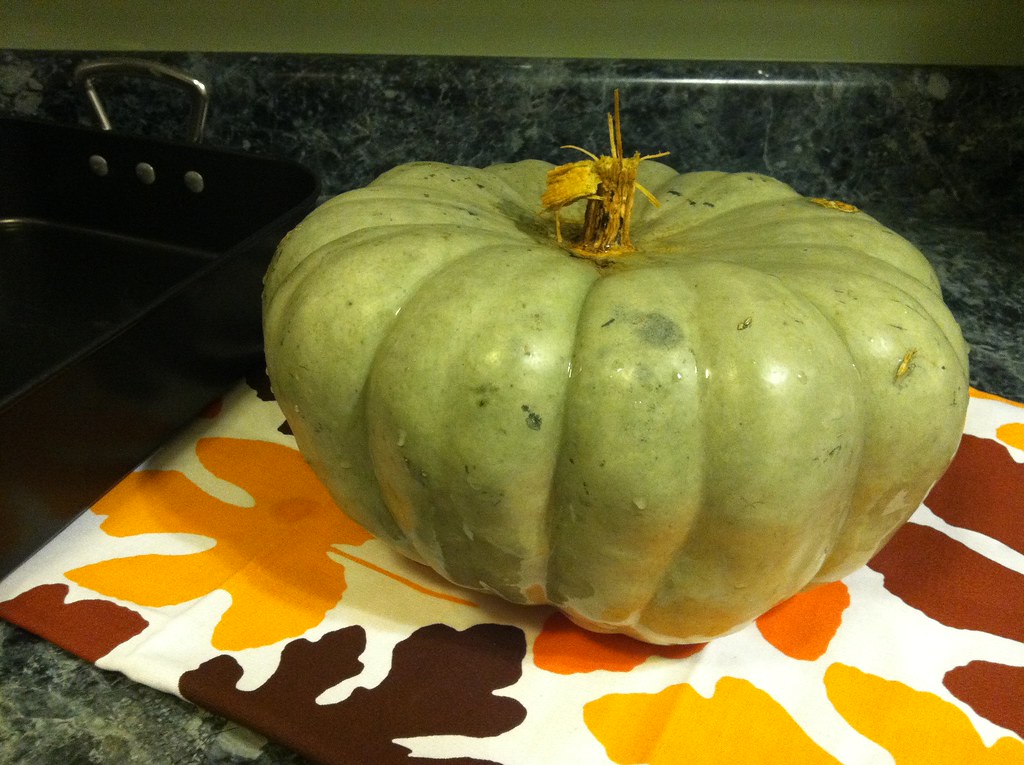
I got a Jarrahdale pumpkin, which is a blue-gray color, has a ton of pumpkin meat in it, and is great for baking (so my Miller Farms cheat sheet says). By the time we got home with dinner I didn't feel like starting a baking project, so Tuesday after work I set up my tools for the big roast.
Here's what you'll need to roast your pumpkin:
- Um, a pumpkin
- Big sharp knife that will cut through a pumpkin
- Spoon to de-gut the pumpkin
- Large roasting pan or deep cookie sheet to collect all the moisture that bakes out of the pumpkin
- Food mill, food processor, or strong potato masher
- Coffee filters - Weird, right? You'll find out what they're for in a minute.
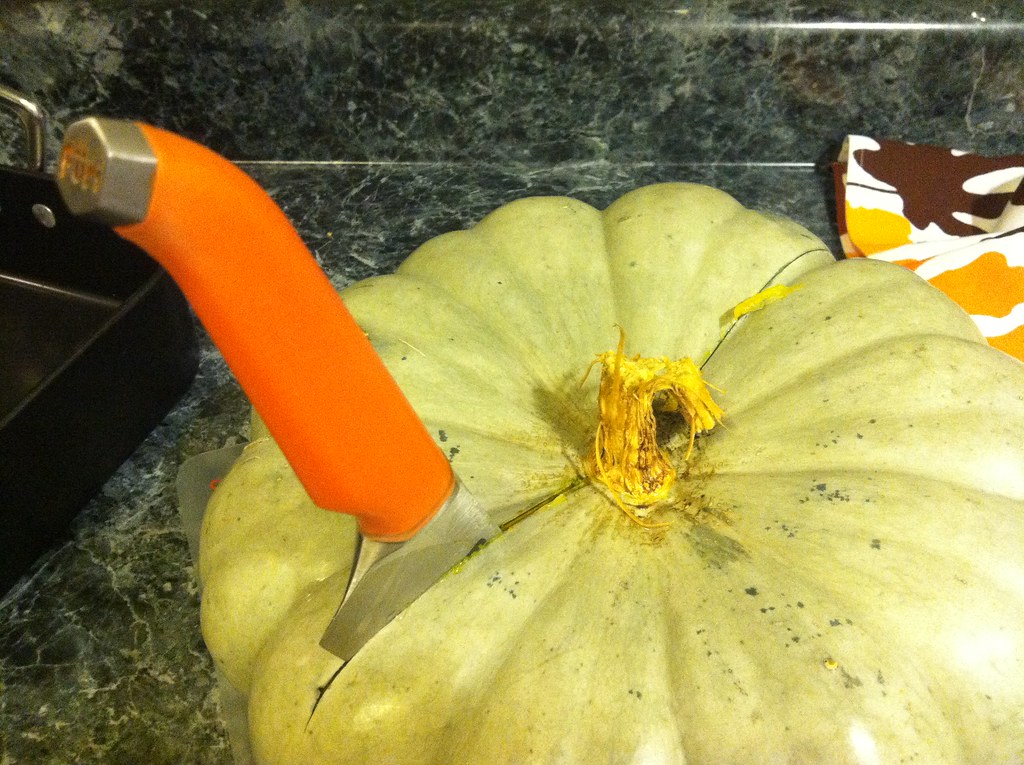
Once the pumpkin is washed and towel dried, cut it in half, north to south:
Then scoop out all the stringy stuff and seeds to expose the flesh of the pumpkin:
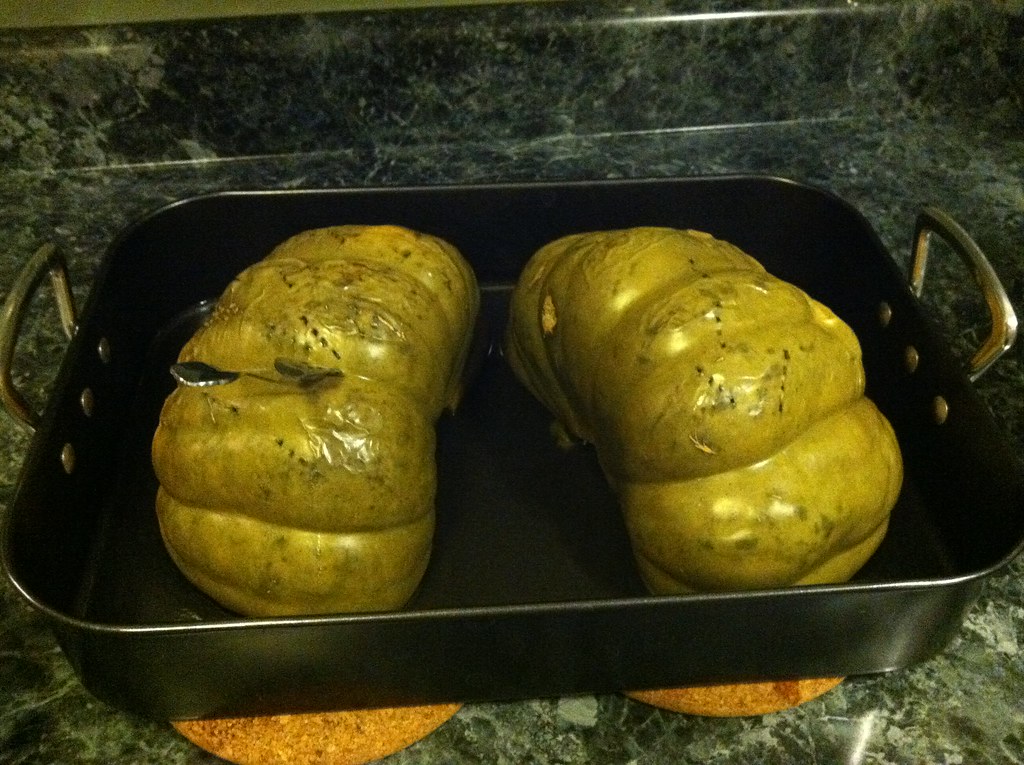
Now put the 2 halves, cut side down, in your roasting pan and bake at 350 degrees for about 45 minutes. You should be able to easy insert a fork into the skin of the pumpkin if it's done.
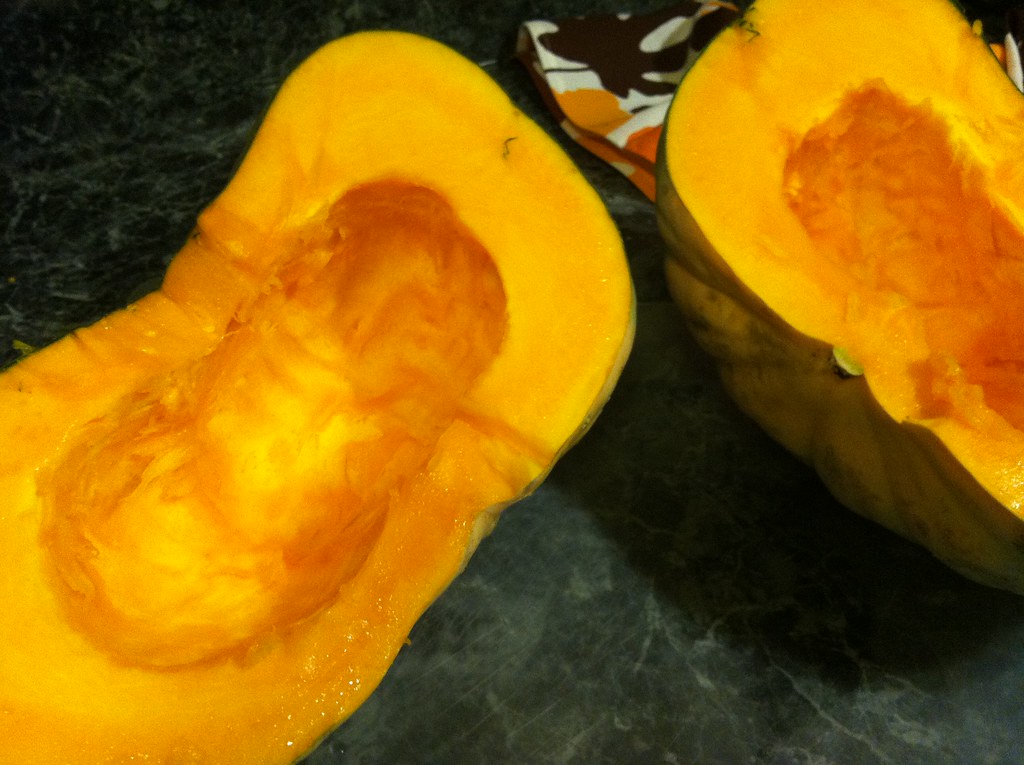
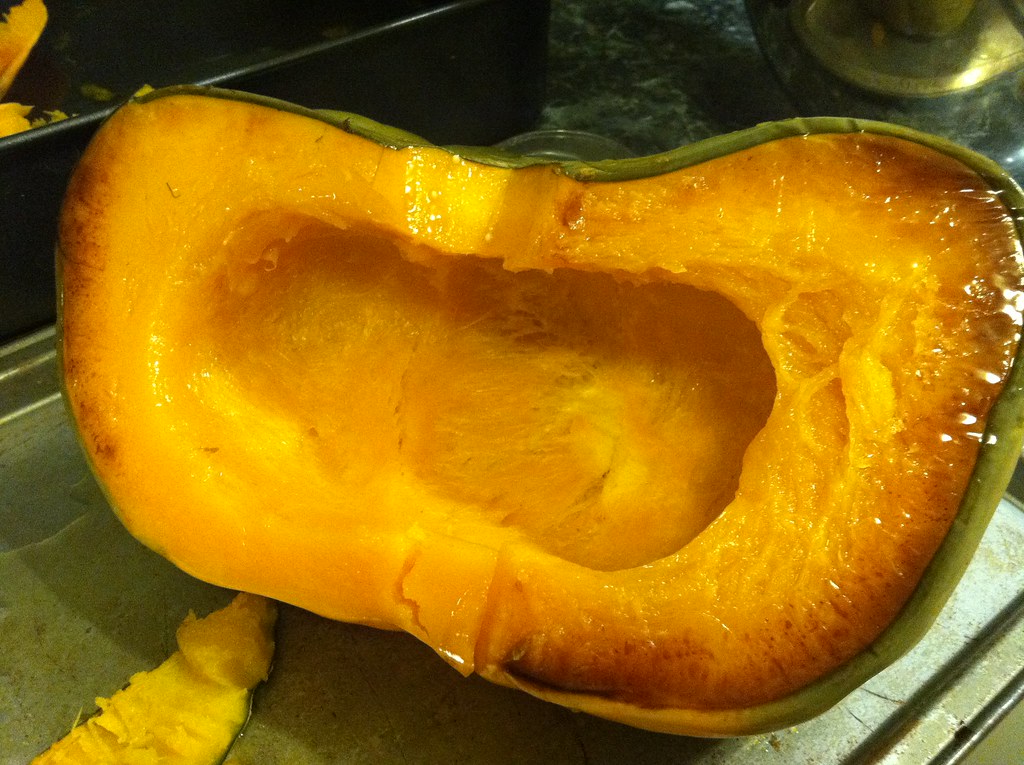
Check out the awesome color of the meaty part...
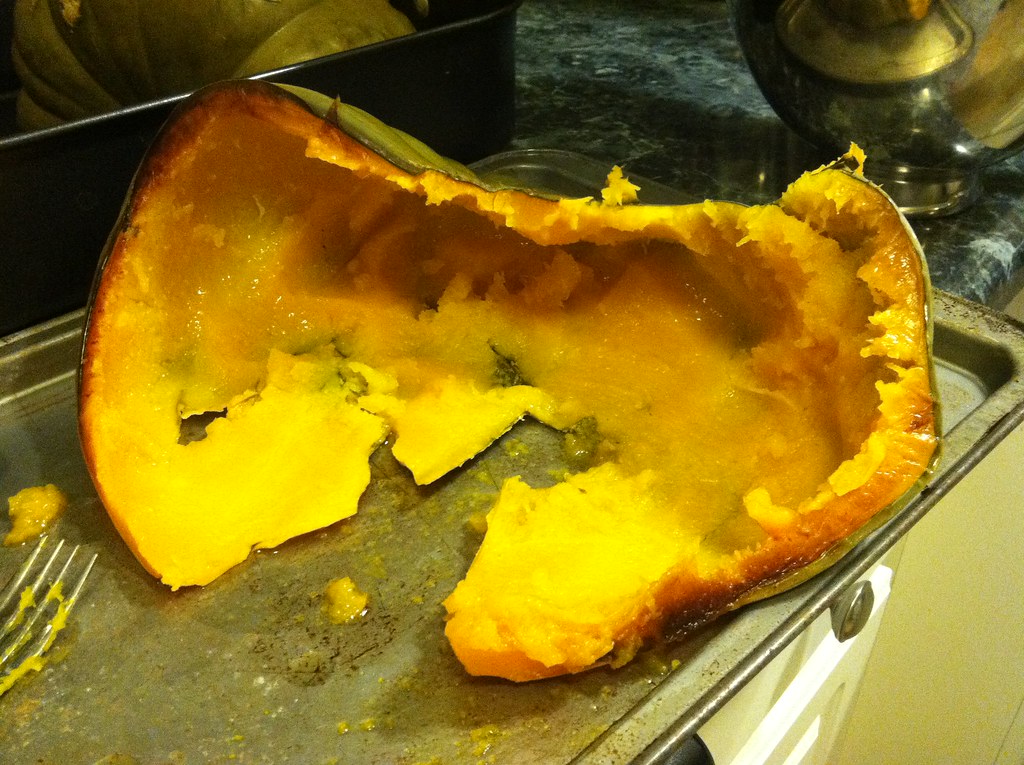
...and it's so soft and juicy it comes right out with a spoon:
Here's where the coffee filters come in - line a colander with them and put the colander over a large bowl. The coffee filters help extract the liquid from the pumpkin, which is good because the less water is in your pumpkin puree the better quality your baked goods will be! :) Spoon your pumpkin into the lined strainer and put it in the fridge overnight:
Try not to get any of the skin in your meat, like I did. We can't all be winners, I suppose! I fished it out later...
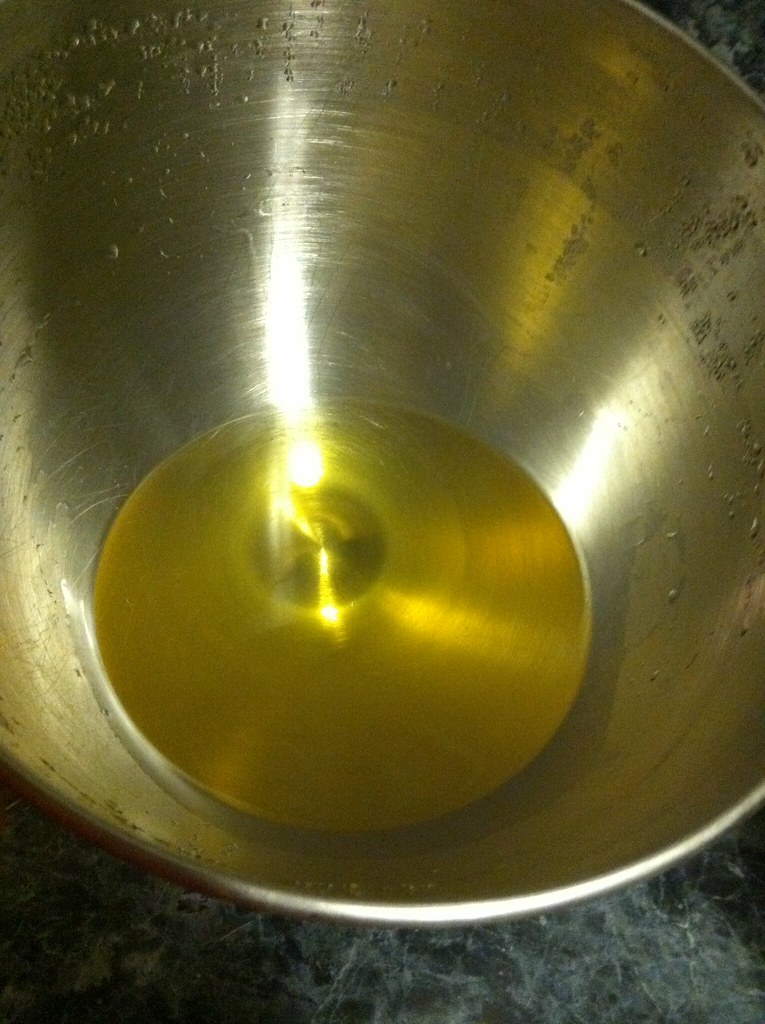
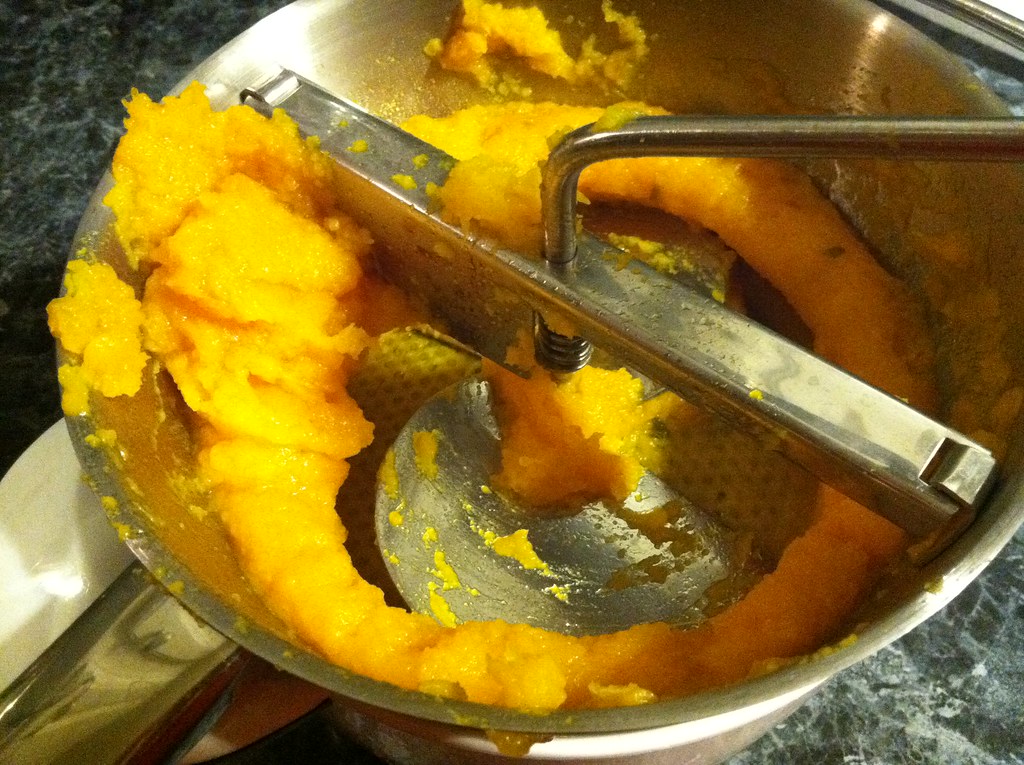
Wednesday after work I got out my handy food mill to break down the pumpkin. But first, look how much water drained out of the pumpkin overnight!
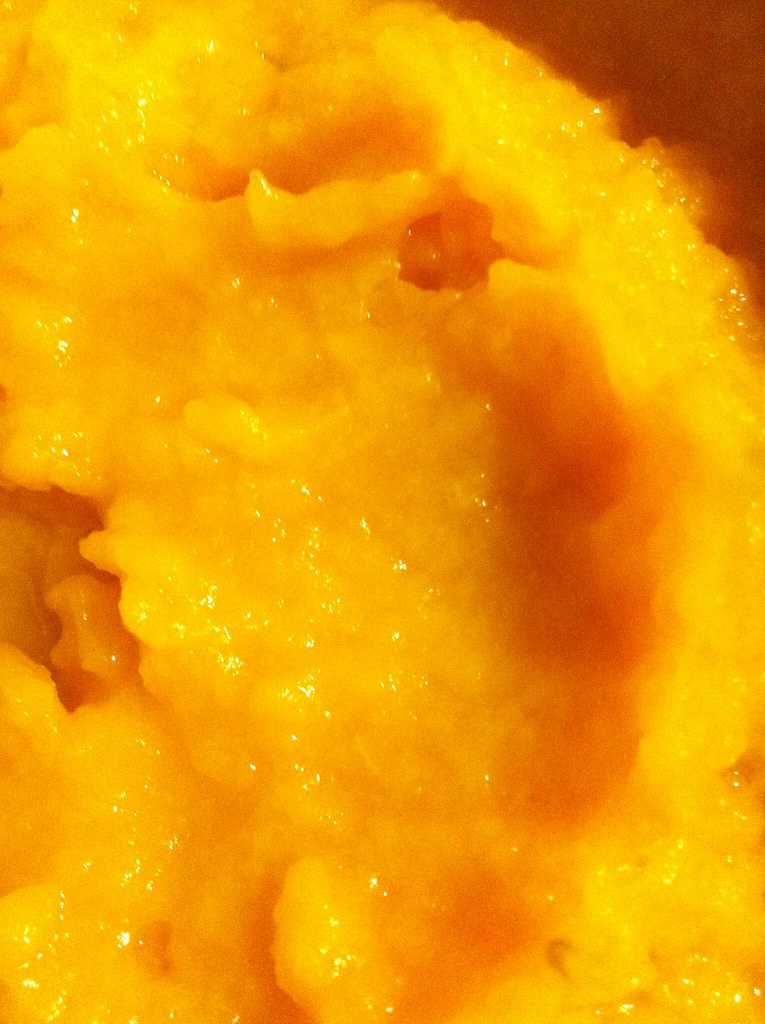
I guess it doesn't seem so dramatic in the photo, but I was surprised how much liquid came out of such a little bit of pumpkin...but back to the food mill - this part was hard! The pumpkin all bunched up on the edges and I had to continually steer it towards the blades. #firstworldproblems
Once I puree'd all the pumpkin, I put it back in the coffee filter-lined colander and drain overnight. Again. But the good news is that was the last step!
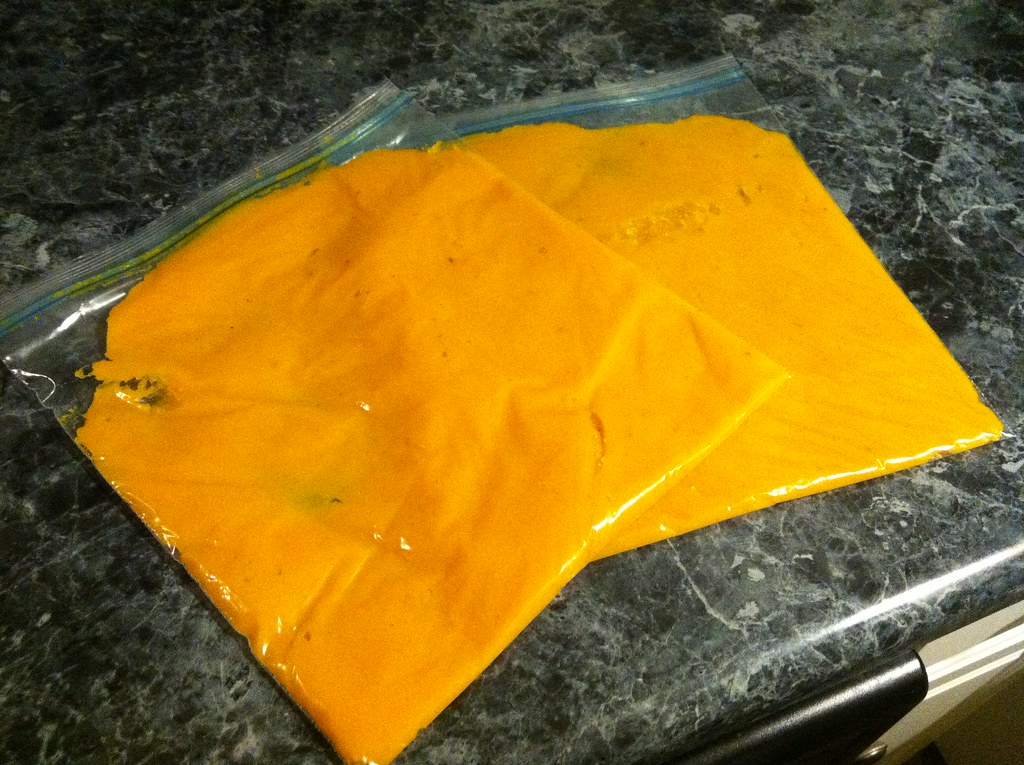
Tonight after work I divided the pumpkin into 2-2 cup portions and bagged them in a gallon freezer bag. You be the judge - all that work for 4 cups of pumpkin puree, which is the equivalent of 2-15 oz. cans? Jury's still out...
I put them straight into the freezer on a cutting board so they'll freeze flat. Once they're frozen I can stand them up so they take up only like an 1-inch wide section of the freezer - sweet! Even though the freezer's still mostly empty from the total loss after Hurricane Irene - I think there's ice cream and 2 veggie burgers in there. Not 2 boxes of veggie burgers - 2 veggie burgers. Sad!


No comments:
Post a Comment